Cannabis Harvest Time: How to Know When Your Buds Are Ready
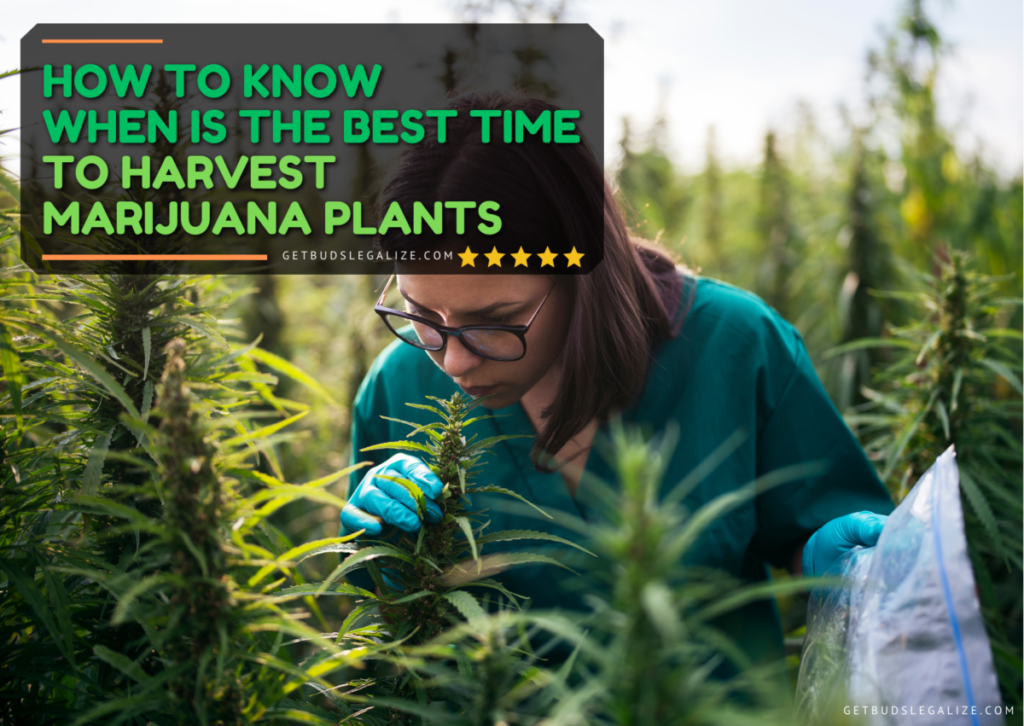
If you are growing marijuana plants, one of the most important decisions you have to make is when to harvest your plants. Harvesting at the right time will ensure that you get the best quality, potency, and yield from your buds. Harvesting too early or too late can affect the taste, aroma, effects, and shelf life of your weed.
But How to Determine What is The Best Time to Harvest Cannabis Plants?
There are several factors that can help you determine the optimal time to harvest your marijuana, such as the plant’s genetics, the growing environment, and the type of effects you are looking for:
The Plant's Genetics:
The first factor that influences the time to harvest is the plant’s genetics. Different cannabis strains have different flowering times, which means they take different amounts of time to develop mature buds after switching to a 12/12 light cycle (or after reaching a certain age for autoflowering plants).
Generally speaking, indica strains tend to have shorter flowering times than Sativa strains and autoflowering strains tend to have shorter lifecycles than photoperiod plants. For example, most indica strains are ready to harvest after 8 weeks of flowering, while most Sativa strains need 10 weeks or more. Autoflowering strains usually take 10 weeks or less from seed to harvest.
However, these are only rough estimates, as there can be variations within each strain depending on the breeder and the phenotype. Therefore, it is always advisable to check the information provided by the seed bank or the breeder before growing certain cannabis seeds, as they will usually give you a more accurate range of flowering time for that specific strain.
The Growing Environment:
The second factor that affects the time to harvest is the growing environment. The temperature, humidity, light intensity, nutrients, and other environmental factors can influence how fast or slow your plants grow and flower. For example, higher temperatures and lower humidity can speed up the flowering process, while lower temperatures and higher humidity can slow it down.
The growing environment also determines whether you are growing indoors or outdoors. Indoor growers have more control over environmental factors and can manipulate them to optimize the growth and flowering of their plants. They can also harvest their plants in stages, as each bud reaches its peak maturity.
Outdoor growers have less control over environmental factors and have to adapt to the natural seasons and weather conditions. They usually harvest cannabis plants in the fall, between September and November in the northern hemisphere, or between March and May in the southern hemisphere.
The Type of Effects You Are Looking For:
The third factor that influences the time to harvest is the type of effects you are looking for from your weed. Different harvest times can result in different cannabinoid and terpene profiles in your buds, which can affect their potency, flavor, aroma, and medical benefits.
The best way to determine the type of effects you want from marijuana is to look at the trichomes on your buds. Trichomes are tiny resinous glands that produce cannabinoids (such as THC and CBD) and terpenes (such as myrcene and limonene). They also give your buds their frosty appearance and sticky texture.
Trichomes change color and clarity as they mature, which indicates their level of potency and their ratio of THC to CBD. You can use a magnifying tool (such as a jeweler’s loupe or a digital microscope) to observe these changes more closely.
Trichomes go through three stages of maturity:
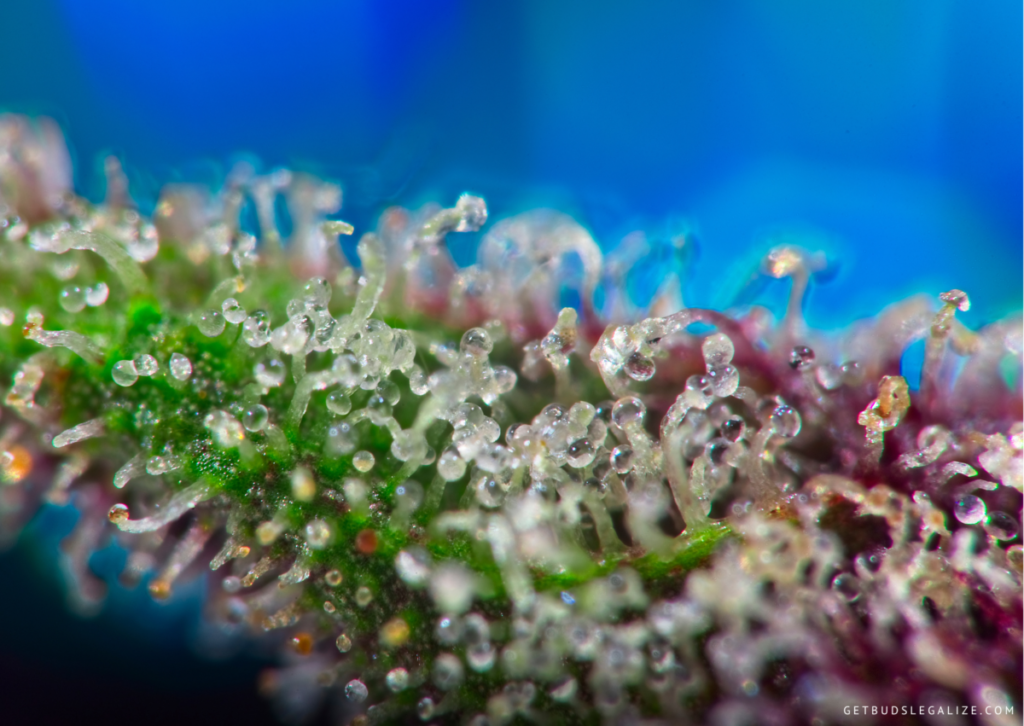
- Clear: This is when trichomes are young and immature. They have a clear and glassy appearance and contain low levels of THC and CBD. Buds harvested at this stage will have weak effects and low potency.
- Milky: This is when trichomes are ripe and mature. They have a milky white or cloudy appearance and contain high levels of THC and CBD. Buds harvested at this stage will have strong effects and high potency. This is also when most terpenes are produced, giving your buds their distinct flavor and aroma.
- Amber: This is when trichomes are overripe or degraded. They have an amber or brown appearance and contain lower levels of THC but higher levels of CBN (a cannabinoid that results from the oxidation of THC). Buds harvested at this stage will have sedative effects and lower potency.
Harvest marijuana plants according to trichome ripeness:
Depending on your personal preference and medical needs, you can choose to harvest your buds at different stages of trichome maturity:
If you want more uplifting, energetic, cerebral, or psychoactive effects from your cannabis, you should harvest your buds when most of the trichomes are clear or milky, with only a few amber ones. This means that the THC levels are at their peak and the CBD levels are still low. Harvesting at this stage will give you a more stimulating and euphoric high that is suitable for daytime use or creative activities.
If you want more relaxing, sedating, physical, or pain-relieving effects from your cannabis, you should harvest your buds when most of the trichomes are amber or brown, with only a few clear or milky ones. This means that the THC levels have started to degrade and the CBD levels have increased. Harvesting at this stage will give you a more calming and soothing high that is suitable for nighttime use or medical purposes.
If you want a balanced mix of both types of effects from your cannabis, you should harvest your buds when there is an even ratio of clear, milky, and amber trichomes. This means that the THC and CBD levels are both moderate and complement each other. Harvesting at this stage will give you a well-rounded high that is neither too stimulating nor too sedating.
What is Trimming and Why is It Important?
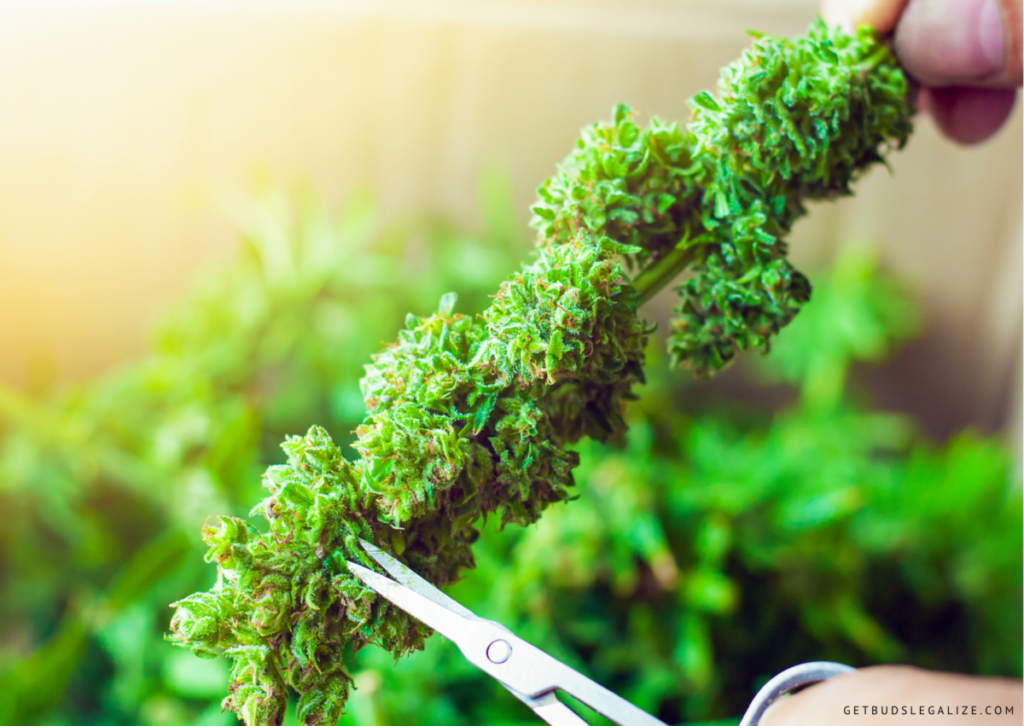
Trimming is the process of removing the excess leaves and stems from your marijuana buds after harvesting. There are two types of leaves that you need to trim:
Fan leaves are large, 5-pointed leaves that grow on the branches of the cannabis plant. They are usually dark green and have little to no resin glands (trichomes) on them. Fan-leaves are important for photosynthesis and transpiration, but they have no value for smoking or making edibles. They are also harsh and bitter and can affect the taste and smoothness of your buds.
Sugar leaves are the small, 1-3 pointed leaves that grow around the buds. They are usually lighter green and have a lot of resin glands on them. Sugar leaves are more potent than fan-leaves, but less potent than buds. They can also add some flavor and aroma to your buds, depending on the strain. However, too many sugar leaves can make your buds look fluffy and airy, and can also increase the risk of mold and pests.
Trimming your buds removes both fan and sugar leaves, leaving only the resinous flowers that you want to smoke or consume. This has several benefits, such as:
- Improving the appearance and bag appeal of your buds. Trimming gives your buds a tighter, denser, and more uniform shape, making them look more attractive and professional.
- Increasing the potency and flavor of your buds. Trimming exposes more of the trichomes that contain THC, CBD, terpenes, and other cannabinoids, making your buds more potent and flavorful.
- Reducing the moisture content and drying time of your buds. Trimming removes a lot of water-filled foliage from your buds, allowing them to dry faster and more evenly. This also prevents mold and mildew from forming on your buds during curing.
- Extending the shelf life and quality of your buds. Trimming reduces the surface area of your buds, making them less prone to oxidation and degradation over time. This preserves their freshness, potency, and flavor for longer.
Which Tools Do You Need for Trimming?
Trimming marijuana is not a complicated task, but it does require some basic tools and equipment. Here are some of the things you will need:
- A pair of sharp scissors or pruning shears. You will use these to cut off the branches from the plant, as well as to trim off the leaves from the buds. Make sure they are clean and sharp, as dull or dirty tools can damage your buds or introduce pathogens.
- A pair of gloves. You will use these to protect your hands from getting sticky with resin, which can be hard to wash off and can cause allergic reactions in some people. You can use disposable latex or nitrile gloves, or reusable rubber or leather gloves.
- A few trays or containers. You will use these to separate your trimmed buds from your discarded trimmings. You can use metal baking sheets, plastic bins, cardboard boxes, or any other flat or shallow containers.
- A drying rack or clothesline. You will use this to hang or lay your trimmed buds for drying. You can use a wire mesh rack, a wooden frame with strings, a clothesline with clips, or any other similar device.
- A magnifying glass or loupe. You will use this to inspect your buds for trichome development and readiness for harvest. You can use a handheld magnifying glass, a jeweler’s loupe, a microscope, or any other device that can magnify at least 10x.
Choosing Between Wet or Dry Trimming
Once you have decided when to harvest your cannabis plants, you need to choose between wet or dry-trimming. Wet-trimming is when you trim your buds right after cutting down your plants, before drying them. Dry-trimming is when you trim your buds after drying them for several days.
Both methods have their pros and cons, and ultimately it comes down to personal preference and convenience. Here are some factors to consider when choosing between wet or dry-trimming:
Wet-trimming:
- Pros: Easier to trim as leaves are more pliable; faster drying time; less space required for drying; less risk of mold or pests; cleaner appearance.
- Cons: More sticky resin on scissors; more loss of terpenes due to evaporation; harsher smoke; less flavor and aroma.
Dry-trimming:
- Pros: Less sticky resin on scissors; more preservation of terpenes; smoother smoke; more flavor and aroma; more natural appearance.
- Cons: Harder to trim as leaves are more brittle; longer drying time; more space required for drying; more risk of mold or pests.
Let's Start to Harvest Step-by-Step Guide:
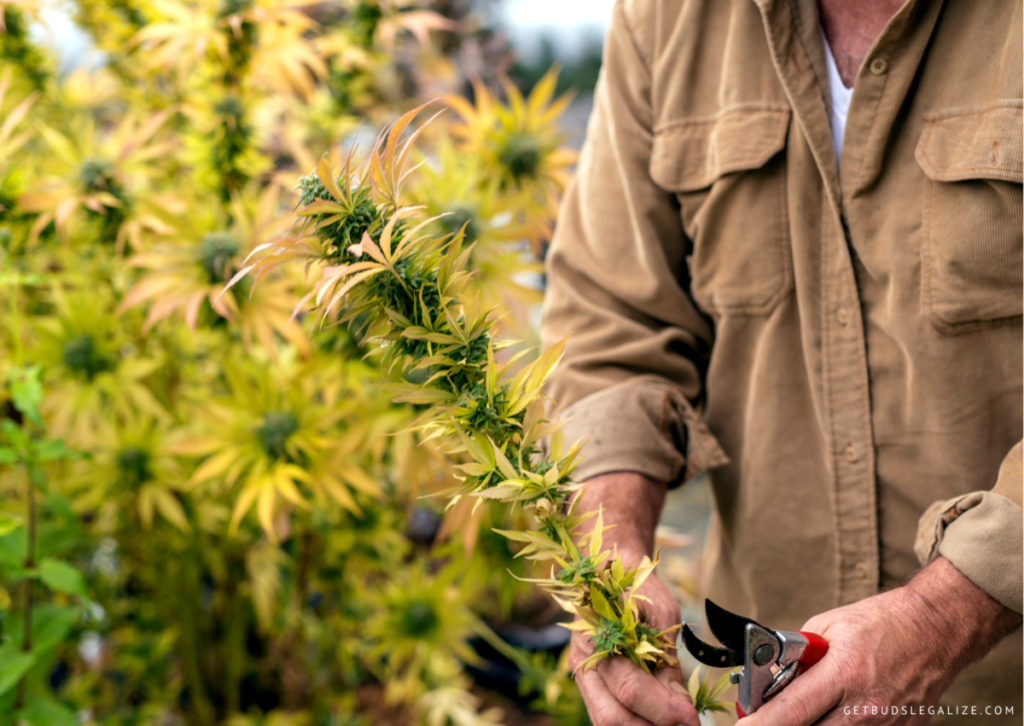
There are many steps involved in the marijuana harvest, and each one can affect the quality, potency, and flavor of your buds. By following these steps, you can ensure that you get the best results from your harvest of medical marijuana and enjoy a smooth and satisfying smoke.
Step 1. Flushing Your Plants
The first step in the process of harvesting actually starts about two weeks before the weed needs to be harvested. Flushing your plants means giving them only plain water without any nutrients or additives for the last 10 to 14 days of flowering. This helps to remove any excess salts or chemicals that may have accumulated in the soil or the plant tissues, which can affect the taste and burn of your buds.
Flushing your plants also helps to trigger the final ripening stage of your buds, as they use up the remaining nutrients stored in their leaves. This can enhance the color, aroma, and potency of your buds, as well as reduce the risk of mold or pests.
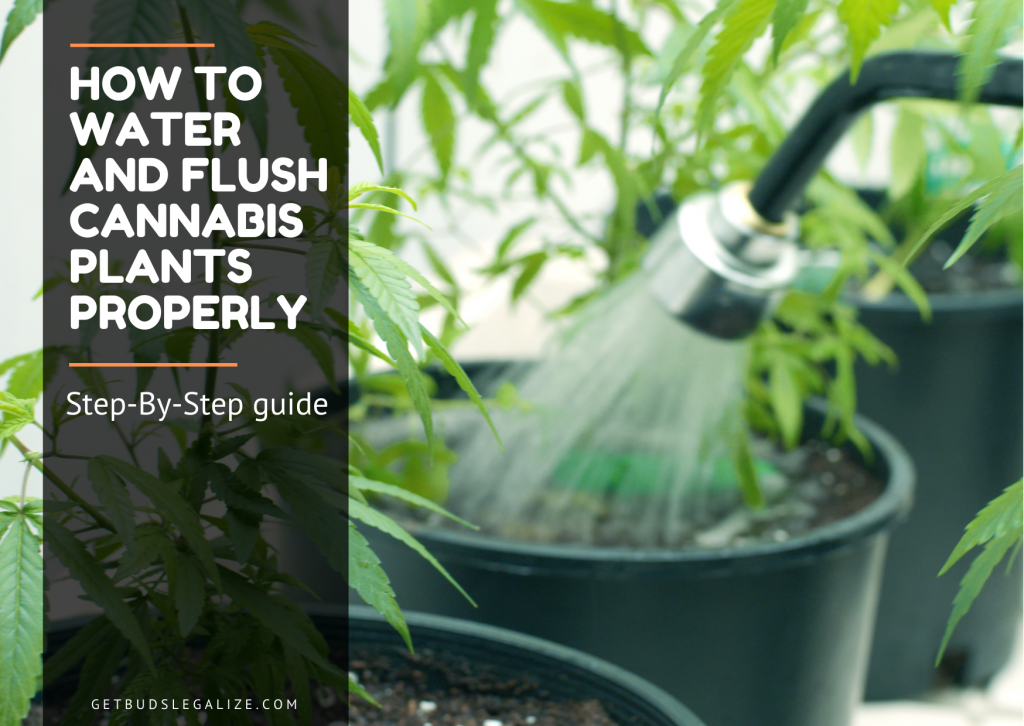
To flush your plants, simply water them with pH-balanced water until you see about 20% runoff from the bottom of the pots. Repeat this every two to three days until harvest time. You can check if your plants are properly flushed by looking at the color of the runoff water. It should be clear or slightly yellow, not dark or murky.
Step 2: Check Your Trichomes
The second step in the cannabis harvest process is to check your trichomes. Trichomes are tiny, crystal-like structures that cover your buds and contain most of the THC and other cannabinoids that create the effects of cannabis. Trichomes also indicate the maturity and readiness of your buds for harvest, as they change color and appearance over time.
To check your trichomes, you will need a magnifying glass or a microscope that can zoom in at least 30x. You can also use a digital camera or a smartphone with a macro lens to take close-up pictures of your buds and examine them on a screen. The color and clarity of your trichomes will tell you when your buds are ready to harvest, depending on what kind of effects you are looking for.
Step 3. Preparing Your Equipment
Before you start harvesting your plants, you need to prepare your equipment and workspace. You will need:
- A sharp pair of scissors or pruning shears
- A large tray or bowl to collect the buds
- A drying rack or clothes hanger
- A clean and dark room with good ventilation
- Airtight glass jars for curing
Step 4: Cut Off the Large Fan Leaves
The large fan-leaves are the ones that have no buds or trichomes on them. They are mostly water and chlorophyll, and they do not contribute much to the quality or potency of your buds. Cutting them off will make trimming easier and faster, as well as reduce the amount of moisture in your buds during drying. To cut them off, use a pair of sharp scissors and pull them downward from the stems. You can discard them or use them for composting.
Step 5: Turn Off the Lights
If you are growing indoors, you need to turn off the lights in your grow room for at least 24 hours before harvesting. This will help to trigger the final ripening of your cannabis buds and increase their THC content. Some growers even turn off the lights for 48 hours or more to maximize the potency of their buds. However, this may also increase the risk of mold or pests, so be careful and check your plants regularly.
Step 6: Cut Off the Branches with Buds
Now it’s time to cut off the branches that contain the colas or buds. Use a pair of sharp scissors or a pruning saw and cut as close to the main stem as possible. Try not to damage or squeeze the buds too much, as this can reduce their quality and trichome production. You can cut off one branch at a time or cut off the whole plant at once, depending on your preference and space.
Step 7: Manicure the Branches and Buds
Manicuring means trimming off the small leaves that grow around the buds. These leaves are called sugar leaves because they have some trichomes on them, but they are not as potent or flavorful as the buds themselves. Trimming them off will improve the appearance and quality of your buds, as well as reduce the harshness and leafiness of your smoke.
To manicure your branches and buds, use a pair of small scissors and carefully cut off the sugar leaves as close to the buds as possible.
Step 8: Begin the Drying Process
Drying your buds is one of the most important steps in harvesting cannabis, as it affects their flavor, aroma, potency, and shelf life. Drying your buds means removing most of the moisture from them without affecting their quality or trichomes.
To dry your buds properly, you need to hang them upside down in a dark, cool, dry, and well-ventilated area for about 5 to 14 days. You can use clothes hangers, strings, wires, or racks to hang your branches.
Make sure there is enough space between the buds to allow air circulation and prevent mold. The ideal temperature for drying cannabis is between 16°C and 21°C (60°F and 70°F), and the ideal humidity is between 55% and 65%. Check your buds daily and gently bend them to see if they are dry enough. They should feel crispy on the outside but still slightly bendy on the inside.
Step 9: Cure Your Buds
Curing your buds means storing them in an airtight container for several weeks or months to enhance their flavor, aroma, and potency. Curing your buds allows the chlorophyll and other unwanted substances to break down and evaporate while preserving the cannabinoids and terpenes that give cannabis its unique effects and qualities.
To cure your buds properly, you need to use glass jars with lids that seal tightly. Fill the jars about three-quarters full with your dried buds and close the lids. Store the jars in a dark, cool, and dry place away from direct sunlight or heat sources.
During the first week of curing, you need to open the jars once or twice a day for about 15 minutes to let some fresh air in and release any excess moisture. This process is called burping and it helps prevent mold growth and over-drying.
After the first week, you can reduce the burping frequency to once every few days or once a week. You can also check the smell and texture of your buds to see how they are curing. They should smell pleasant and feel slightly sticky but not wet.
The curing process can take anywhere from two weeks to several months depending on your preference and patience. The longer you cure your buds, the better they will taste and smell.
What Can You Do With the Leftover Cannabis Trimmings?
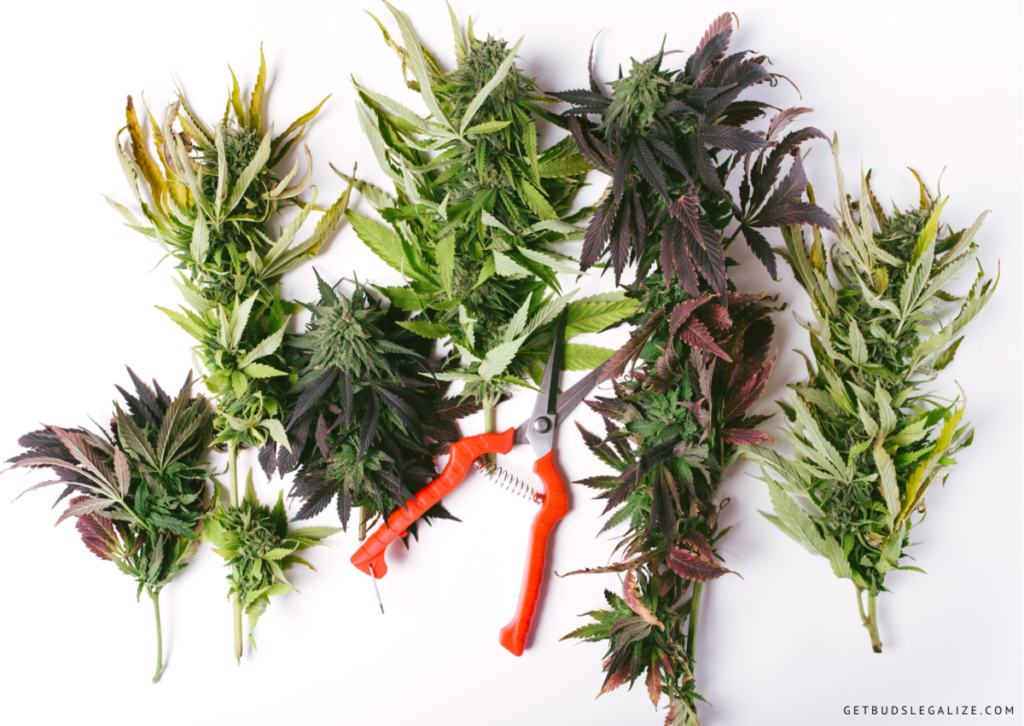
If you grow your own marijuana, you might wonder what to do with the trimmings that you get after harvesting the buds. These are the leaves, stems, and small flowers that are usually discarded or composted. However, there are many ways to use these trimmings to make the most of your cannabis grow. Here are some of the things you can do with the leftover trimmings:
Make cannabutter or oil:
Cannabutter or oil is a versatile ingredient that you can use to make edibles, such as cookies, brownies, cakes, or even savory dishes. To make cannabutter or oil, you need to decarboxylate your trimmings first, which means heating them in an oven at a low temperature for about an hour. This activates the THC and other cannabinoids in the plant material. Then, you need to simmer the trimmings in butter or oil for a few hours, stirring occasionally. Finally, you need to strain the mixture and store it in an airtight container in the fridge or freezer. You can use cannabutter or oil as a substitute for regular butter or oil in any recipe that calls for it.
Make hash or kief:
Hash or kief is a concentrated form of cannabis that consists of the resin glands (trichomes) that contain most of the cannabinoids and terpenes in the plant. To make hash or kief, you need to separate the trichomes from the plant material using a sieve, a grinder, or a special device called a kief box. You can then press the kief into hash using heat and pressure or leave it as a powder. You can smoke hash or kief in a pipe, a bong, or a vaporizer, or sprinkle it on top of your joints or bowls.
Make tinctures:
Tinctures are alcohol-based extracts of cannabis that you can take sublingually (under the tongue) or add to your drinks or food. To make tinctures, you need to decarboxylate your trimmings first, as explained above. Then, you need to soak them in high-proof alcohol (such as Everclear) for a few weeks in a dark and cool place, shaking the jar every day. Finally, you need to strain the mixture and store it in a dropper bottle. You can use tinctures to dose yourself discreetly and precisely, as each drop contains a certain amount of THC and other cannabinoids.
Make tea:
Tea is a simple and relaxing way to enjoy the benefits of cannabis without smoking it. To make tea, you need to decarboxylate your trimmings first, as explained above. Then, you need to boil some water and add some fat (such as milk, cream, coconut oil, or butter) to help dissolve the cannabinoids. Next, you need to add your trimmings and some tea leaves or bags of your choice (such as chamomile, mint, or green tea) and simmer for about 15 minutes. Finally, you need to strain the mixture and enjoy your cup of cannabis tea.
Make topicals:
Topicals are cannabis-infused creams, balms, salves, lotions, or oils that you can apply to your skin for localized relief of pain, inflammation, or skin conditions. To make topicals, you need to decarboxylate your trimmings first, as explained above. Then, you need to infuse them in carrier oil (such as coconut oil, olive oil, or jojoba oil) for a few hours on low heat. Next, you need to strain the mixture and add some beeswax and essential oils (such as lavender, peppermint, or eucalyptus) to create your desired consistency and scent. Finally, you need to store your topical in an airtight container in a cool and dark place.
Conclusion
Congratulations! You have successfully harvested your cannabis plants indoors. Now you can enjoy the fruits of your labor and share them with your friends. Remember to always consume cannabis responsibly and legally.
Harvesting is one of the most rewarding steps of growing weed. By following these tips and tricks, you can ensure that you harvest your plants at the right time and get the best quality buds possible.

