How to Make Your Own Homemade Cannabis Nutrients
If you are growing cannabis plants, you know how important it is to provide them with the right nutrients. Cannabis plants need a balanced mix of nitrogen (N), phosphorus (P), and potassium (K), as well as other micronutrients, to grow healthy and produce potent buds.
However, buying commercial fertilizers can be expensive and sometimes harmful to the environment. That’s why many growers opt to make their own Homemade Cannabis Nutrients using organic materials that are readily available and cheap.
Why Make It Homemade?
Making your own homemade cannabis nutrients has many benefits, such as:
• Saving money: You can use waste materials from your kitchen, garden, or even your own body to make fertilizer for weeds. This way, you don’t have to spend money on buying synthetic that may contain chemicals or additives that you don’t want in your plants.
• Improving soil quality: Homemade fertilizers from organic nutrients can improve the quality of your soil by adding organic matter, improving drainage, and increasing microbial activity. This can help your plants absorb nutrients better and prevent diseases and pests.
• Reducing environmental impact: By making your own fertilizer for weeds, you can reduce your environmental impact by recycling waste materials and avoiding synthetic fertilizers that may leach into the water system or harm wildlife.
Understanding Cannabis Nutrients: N, P, and K
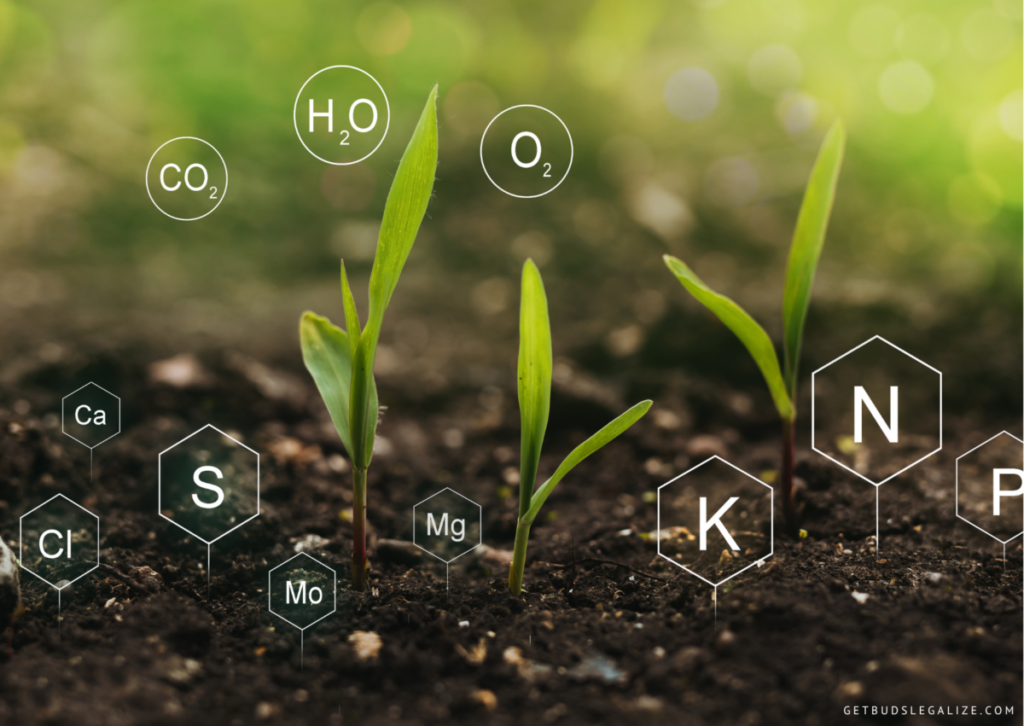
Before you start, you need to understand the basic cannabis nutrients and their roles in plant growth. Cannabis plants need three primary macronutrients: nitrogen (N), phosphorus (P), and potassium (K). These are usually expressed as N-P-K ratios on fertilizer labels. For example, a 10-10-10 fertilizer means it contains 10% of each nutrient.
Nitrogen (N) is essential for vegetative growth, as it helps the plant produce chlorophyll, amino acids, proteins, and enzymes. Nitrogen deficiency can cause yellowing of leaves, stunted growth, and poor bud formation. However, too much nitrogen can also be harmful, as it can cause excessive vegetative growth, reduced flowering, and lower THC levels.
Phosphorus (P) is important for flowering and fruiting, as it helps the plant produce energy, sugars, nucleic acids, and phospholipids. Phosphorus deficiency can cause purple or brown spots on leaves, slow growth, and poor bud development. However, too much phosphorus can also be detrimental, as it can cause a nutrient lockout, root damage, and reduced flavor and aroma.
Potassium (K) is vital for overall plant health, as it helps the plant regulate water intake, transpiration, enzyme activity, and carbohydrate metabolism. Potassium deficiency can cause yellowing or browning of leaf edges, wilting, and weak stems. However, too much potassium can also be problematic, as it can cause nutrient imbalance, salt buildup, and leaf burn.
Making the Perfect Homemade Fertilizer for Weed is Easy
To make your homemade organic marijuana fertilizer, you need to consider the stage of growth of your plants and their nutrient requirements. Cannabis plants need more nitrogen during the vegetative stage and more phosphorus and potassium during the flowering stage. Therefore, you need to adjust your fertilizer accordingly.
You also need to consider the pH level of your soil or growing medium. Cannabis plants prefer a slightly acidic pH level, between 6.0 and 7.0. If your soil is too acidic or alkaline, it can affect the availability of nutrients and cause nutrient deficiencies or toxicities. Therefore, you need to test your soil pH regularly and amend it with lime or sulfur if needed.
Items You’ll Need:
- A compost bin or a large container with a lid and holes for ventilation: This is where you will store and process your organic materials into compost, which is a natural fertilizer that contains nitrogen, phosphorus, potassium, and other micronutrients.
- A watering can or a spray bottle: This is to apply your nutrient solution to your plants. You can either water your plants directly with your homemade fertilizer or use it as a foliar spray to boost their health and growth.
- A pH meter or pH strips: This is to measure and adjust the pH of your compost and nutrient solution. Cannabis plants prefer a slightly acidic pH of around 6.0 to 7.0, so you will need to monitor and correct the pH of your fertilizer accordingly.
- A PPM or EC meter: This is to measure and adjust the concentration of your nutrient solution. EC stands for electrical conductivity and PPM stands for parts per million. Both are indicators of the amount of dissolved solids present in the water. Cannabis plants have different nutrient requirements depending on their stage of growth, so you will need to adjust the strength of your fertilizer accordingly.
13 Healthy Organic Wastes You Can Add To Your Plants:
There are many natural fertilizers you can add to your plants to help them grow strong and healthy, all of which can be found in household scraps. Here are some of the best to use:
1. Coffee Grounds:
Coffee grounds are a great source of nitrogen for your weed plants, as well as other nutrients like potassium and magnesium. They also help improve the soil structure and drainage and attract beneficial worms and microorganisms. You can use them as a mulch around your plants, or mix them with water to make a liquid fertilizer. Here are some steps to follow:
- Collect used coffee grounds from your coffee maker or a local coffee shop. You can store them in a container until you have enough to use.
- Spread a thin layer around the base of your weed plants, about 2 inches away from the stem. You can also mix them with some compost or organic matter to enrich the soil.
- Water your plants as usual, making sure the coffee grounds are moist but not soggy.
- Repeat this process every few weeks during the vegetative and flowering phases of your plants.
Alternatively, you can make a liquid fertilizer by soaking coffee grounds in water for a few days. Here are some steps to follow:
- Fill a bucket or a large jar with water and add some coffee grounds. The ratio should be about 1 part coffee grounds to 10 parts water.
- Cover the container with a lid or a cloth and let it sit in a warm place for 3 to 5 days. Stir it occasionally to prevent mold growth.
- Strain the liquid and discard the coffee grounds. You can compost them or use them as mulch for other plants.
- Dilute the liquid fertilizer with more water before using it on your weed plants. The ratio should be about 1 part fertilizer to 20 parts water.
- Apply the liquid fertilizer to your weed plants once every two weeks during the vegetative and flowering stages. You can spray it on the leaves or pour it on the soil.
Coffee grounds are an easy and cheap way to make your own cannabis fertilizer, and they can boost the growth and yield of your plants. However, you should avoid using too much coffee grounds, as they can lower the pH of your soil and make it too acidic for your weed plants. You should also test your soil regularly and adjust the pH if needed.
2. Banana Skins:
Banana peels are rich in potassium, which is essential for healthy weed plants. Potassium helps with photosynthesis, water regulation, and resistance to pests and diseases. To use the peels of the banana as fertilizer, you can either chop them up and bury them around the base of your plants, or dry them and grind them into a powder that you can sprinkle on the soil. Here are some steps to follow:
- Collect some ripe peels of banana and wash them thoroughly to remove any dirt or pesticides.
- Cut them into small pieces and spread them on a baking sheet or a tray.
- Place them in an oven at a low temperature (around 100°C) for several hours until they are completely dry and brittle.
- Transfer them to a blender or a food processor and pulse until they turn into a fine powder.
- Put the powder in an airtight container and use as needed.
Alternatively, you can make a liquid fertilizer by soaking the peels of the banana in water for a few days. Here are some steps to follow:
- Collect some ripe peels of the banana and wash them thoroughly to remove any dirt or pesticides.
- Cut them into small pieces and place them in a large jar or a bucket.
- Fill the jar or bucket with water and cover it with a lid or a cloth.
- Let it sit in a sunny spot for about a week, stirring occasionally.
- Strain the liquid and discard the solids.
- Dilute the liquid with water (about 1 part liquid to 10 parts water) and use it to water your plants once a week.
3. Cooking Water:
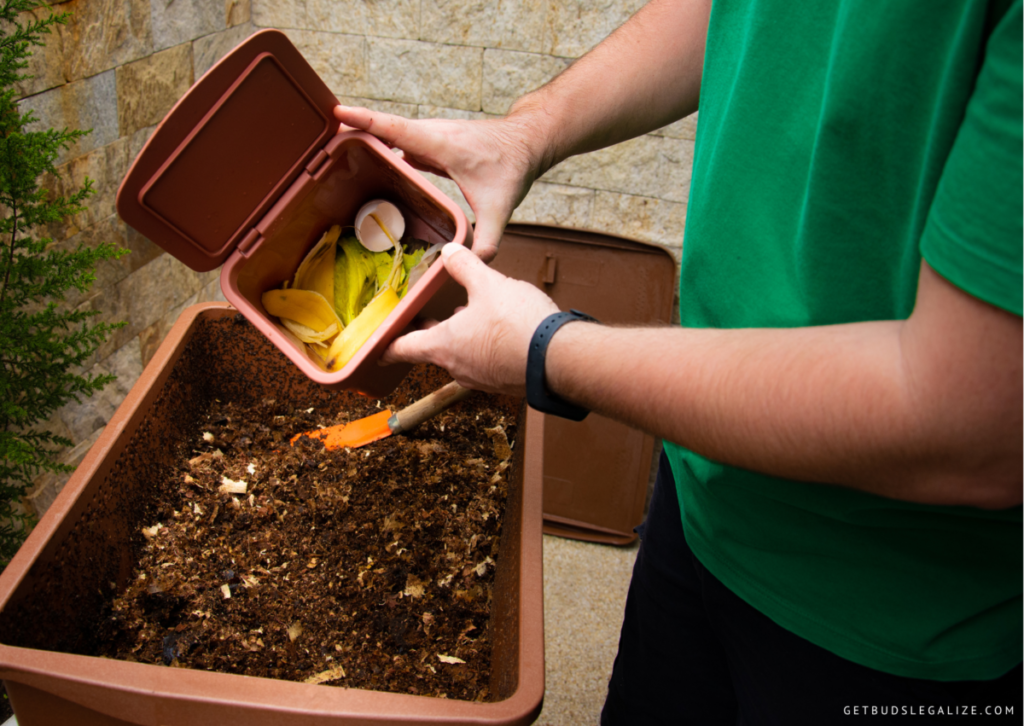
One of the easiest ways to make your own fertilizer for weeds is to use the water that you cook vegetables or eggs in. This water contains nutrients that can benefit your cannabis plants, such as nitrogen, potassium, calcium, and phosphorus.
To use this method, simply let the water cool down after cooking and then water your plants with it. You can do this once a week or whenever you have leftover cooking water.
Alternatively, you can make compost tea by mixing some organic materials with water and letting them ferment for a few days or weeks. Some examples of organic materials are banana peels, coffee grounds, eggshells, grass clippings, and manure. These materials are rich in nitrogen, which is essential for the growth and flowering of weeds.
To make this fertilizer, you will need a large bucket or container with a lid, a drill or a knife to make some holes in the lid for ventilation, and a strainer or cheesecloth to filter the liquid. Here are some steps to follow:
- Fill the bucket about halfway with water and add your organic materials. You can use one type of material or a combination of different ones. The ratio of water to organic matter should be about 10:1.
- Cover the bucket with the lid and make some holes in it for air circulation. Place the bucket in a warm and dark place, such as a garage or a closet.
- Stir the mixture every few days to prevent mold and bad smells. The fermentation process can take anywhere from a week to a month, depending on the temperature and the type of materials you use. You will know it is ready when it has a dark brown color and a sour smell.
- Strain the liquid through a strainer or cheesecloth and store it in a bottle or a jar. You can dilute it with water before using it on your plants. The recommended dilution rate is about 1:10 or 1:20, depending on the strength of your fertilizer. You can use this fermented plant juice once every two weeks during the vegetative and flowering stages of your weed.
4. Urine:
Urine is a natural source of nitrogen, phosphorus, and potassium, which are essential nutrients for cannabis plants. However, urine should be diluted before applying it to your weed, as it can be too concentrated and burn the roots or leaves. Here are some steps to follow:
- Collect fresh urine in a clean container. Avoid using urine that has been stored for a long time, as it can develop harmful bacteria or ammonia.
- Dilute the urine with water at a ratio of 10:1 (10 parts water to 1 part urine). You can adjust the ratio depending on the age and stage of your plants. Younger plants may need a weaker solution, while flowering plants may benefit from a stronger one.
- Apply the diluted urine to your weed once every two weeks, either by watering the soil or spraying the foliage. Avoid applying urine during hot or sunny days, as it can evaporate quickly and leave salt residues on the leaves.
5. Citrus Peels:
Citrus peels are rich in nitrogen, phosphorus, potassium and other micronutrients that weed plants need. They also help lower the pH of the soil, which is ideal for weed growth. Here are some steps to follow:
- Collect citrus peels from oranges, lemons, limes, or grapefruits. You can use fresh or dried peels, but make sure they are organic and pesticide-free.
- Cut the peels into small pieces and spread them on a baking sheet. Bake them in the oven at 200°F for about an hour or until they are dry and brittle.
- Crush the peels into a fine powder using a blender, mortar, and pestle, or food processor. Store the powder in an airtight container in a dry and cool place and use it as needed.
- To use the citrus peel fertilizer, mix one tablespoon of powder with one gallon of water and water your weed plants once a week.
Alternatively, you can make a liquid fertilizer by soaking citrus peels in water for two weeks. Strain the liquid and dilute it with water before using it on your weed plants.
6. Egg Shells:
Eggshells are a great source of calcium for your weed plants, which helps them develop strong cell walls and resist diseases. Here are some steps to follow:
- Rinse and dry your eggshells and crush them into small pieces.
- Sprinkle them around the base of your weed plants or mix them with your potting soil.
This homemade fertilizer is rich in calcium and other minerals that will boost your weed growth and yield.
7. Herbs:
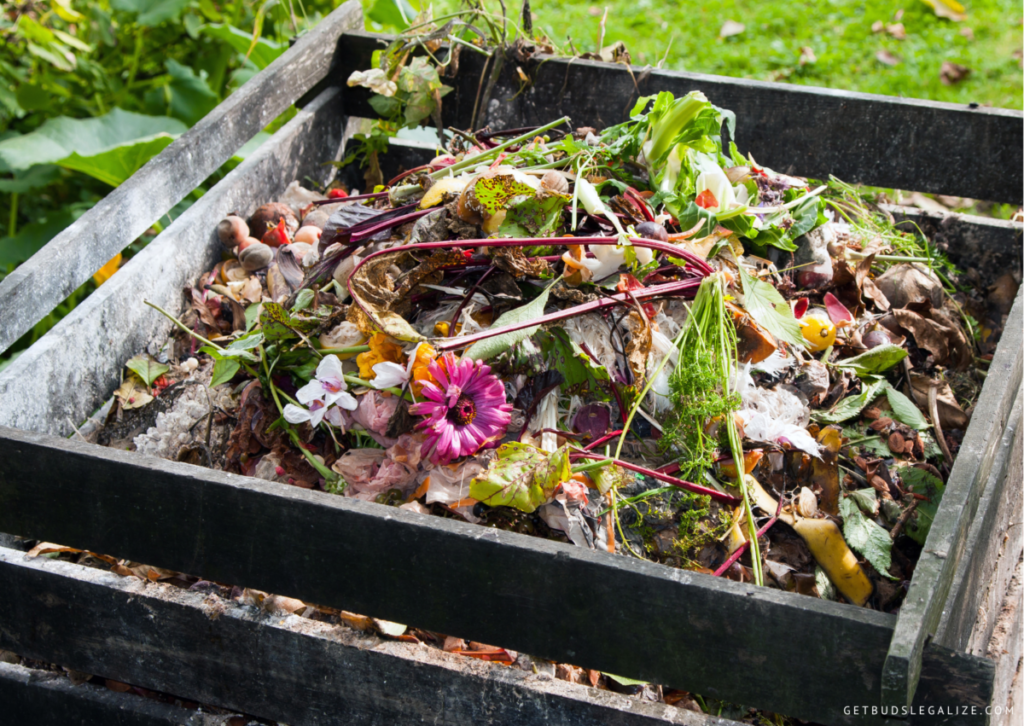
Herbs such as comfrey, nettles, chamomile, mint, and yarrow can be used to make herbal teas that can benefit your plants. These herbs contain various nutrients and compounds that can stimulate plant growth, improve soil fertility, attract beneficial insects, and prevent diseases. Here are some steps to follow:
- Pick and wash fresh herbs, or use dried herbs if you have them. You can use one herb or a combination of different herbs depending on your preference and availability.
- Place the herbs in a glass jar or a large pot and pour boiling water over them. Use about 3 teaspoons of fresh herbs or 1 teaspoon of dried herbs per cup of water.
- Cover the jar or pot with a lid and let the infusion steep for at least 5 to 10 minutes, or longer for a stronger tea.
- Strain the it and let it cool down completely before using it on your plants. You can store the tea in the refrigerator for up to a week, or freeze it for later use.
- Dilute the tea with water before applying it to your plants. The ratio of tea to water depends on the type and strength of it, but a general rule is to use 1 part tea to 10 parts water.
- Apply the tea to your plants once a week as a foliar spray or a soil drench. You can also use it as a compost activator or a seed soak.
8. Wood Ashes:
Ashes of wood are a great source of potassium and calcium for your cannabis plants. They can also help balance the pH of acidic soils. However, you should use them sparingly and only on outdoor plants, as they can be too strong for indoor plants and burn their roots. Here are some steps to follow:
- Collect the ashes from a fireplace or a fire pit. Make sure the wood is untreated and natural, as treated wood can contain harmful chemicals that can damage your plants and soil.
- Let the ashes cool completely before using them. You can store them in a metal container with a lid until you are ready to use them.
- Sprinkle a thin layer of ashes around the base of your plants, about 2 inches away from the stem. Do not apply more than 1/4 inch at a time, as too much can raise the pH too high and cause a nutrient lockout.
- Water your plants well after applying the ashes to help them dissolve and absorb into the soil. You can repeat this process every 2 to 4 weeks during the vegetative and flowering phases of your plants.
9. Brewer's Yeast:
Brewer’s yeast is a natural source of nitrogen, phosphorus, and potassium, which are essential nutrients for cannabis plants. You can use brewer’s yeast to make your own organic fertilizer for weeds by following these steps:
- Dissolve one tablespoon of brewer’s yeast in one gallon of water.
- Let the solution sit at room temperature for 24 hours.
- Strain the solution and store it in a dark bottle or container.
Use the solution to water your plants once a week during the vegetative and flowering stages.
10. Tree Leaves:
One of the easiest and cheapest ways to make your own fertilizer for weeds is to use tree leaves. Tree leaves are rich in carbon, nitrogen, and other minerals that can nourish your cannabis plants. Here are some steps to follow:
- Collect dry leaves from your yard or nearby trees. Avoid using leaves that are diseased, moldy, or sprayed with pesticides.
- Shred the leaves into small pieces using a shredder, a mower, or a pair of scissors. This will help them decompose faster and release their nutrients.
- Spread the shredded leaves over your soil as a mulch layer, about 2-3 inches thick. This will help regulate soil temperature, retain moisture, and prevent weeds.
Alternatively, you can make a leaf compost by piling up the shredded leaves in a bin or a corner of your garden. Turn the pile weekly to air out and speed up the decomposition process. You can also add some grass clippings, kitchen scraps, or manure to boost the nitrogen content of your compost. After a few months, your compost will be ready to use as a fertilizer for weeds. You can mix it with your soil or apply it as a top dressing around your plants.
Alternatively, you can make a liquid fertilizer by:
- Soaking the shredded leaves in water for a few weeks in a bucket or a barrel. You can also add some seaweed, molasses, or fish emulsion to enhance the nutrient value of your liquid fertilizer.
- Straining the liquid and diluting it with water before using it. A good ratio is 1 part liquid fertilizer to 10 parts water.
- Watering your plants with the diluted liquid fertilizer once every two weeks during the vegetative and flowering stages of your cannabis plants.
Using tree leaves as a fertilizer for weeds is a simple and effective way to recycle organic waste and provide your plants with essential nutrients.
12. Animal Feces:
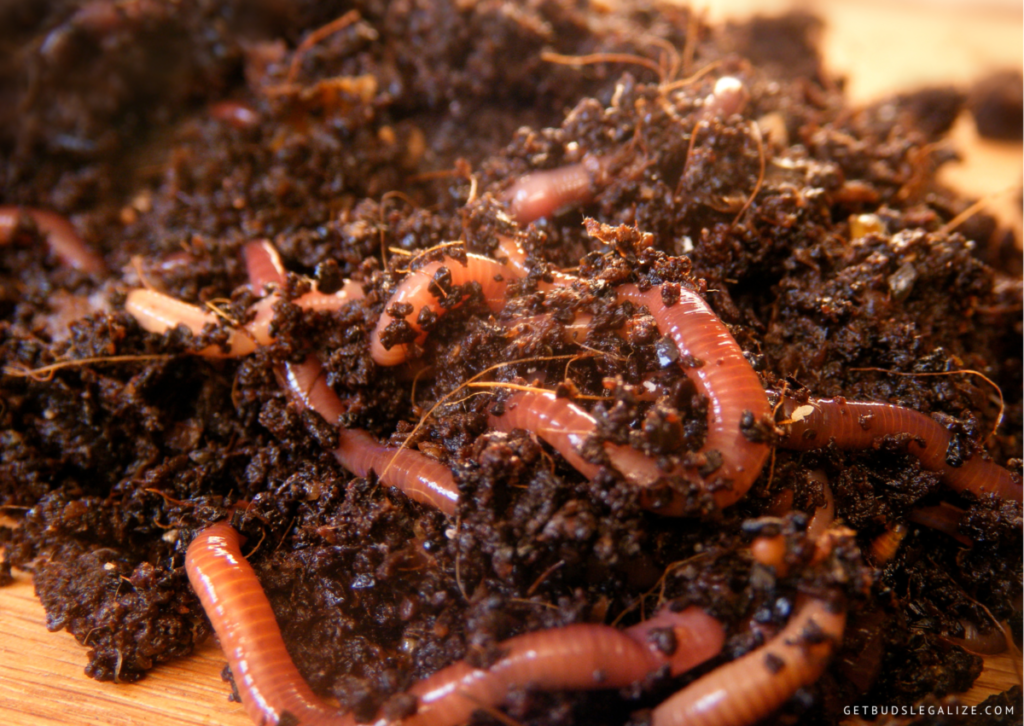
Animal feces can be a great source of nitrogen for your weed plants, as well as other nutrients like phosphorus and potassium. However, you need to be careful about what kind of animal feces you use and how you apply them. Here are some steps to follow:
- Choose animal feces from herbivores, such as cows, horses, sheep, rabbits, or chickens. Avoid feces from carnivores or omnivores, such as dogs, cats, pigs, or humans, as they can contain harmful pathogens or parasites.
- Compost the animal feces before using them as fertilizer. This will reduce the risk of diseases and pests, as well as balance the nutrient levels and pH of the soil. You can compost animal feces by mixing them with carbon-rich materials like straw, leaves, or wood chips in a pile or bin. Turn the pile regularly and keep it moist but not soggy. The composting process can take several weeks or months, depending on the temperature and moisture level.
- Apply the composted animal feces to your soil before planting your weed seeds or clones. You can either mix them with the soil or spread them on top as mulch. Use about 2 to 4 inches of composted animal feces per square foot of soil. Do not apply fresh animal feces directly to your plants, as they can burn the roots or leaves.
Alternatively, you can make a liquid fertilizer by:
- Soaking animal feces in water for a few days in a bucket or barrel. Use about 1 part of animal feces to 10 parts of water. Stir the mixture occasionally and cover it with a lid or cloth to prevent flies and mosquitoes.
- Straining the liquid fertilizer and diluting it with more water before using it. Use about 1 part of liquid fertilizer to 10 parts of water for seedlings and young plants, and 1 part of liquid fertilizer to 5 parts of water for mature plants.
- Watering your plants with the diluted liquid fertilizer once every two weeks during the vegetative and flowering stages. Do not spray the liquid fertilizer on the leaves or buds, as it can cause mold or rot.
13. Fish Emulsion
Fish emulsion is a liquid fertilizer that is derived from the decomposition of fish parts. It is rich in nitrogen, phosphorus, potassium, and micronutrients that are essential for plant growth and development. Here are some steps to make your own fish emulsion fertilizer for your weed plants:
- Gather some fresh or frozen fish parts. You can use any kind of fish, but avoid oily fish like salmon or tuna. You can also add some seaweed or kelp for extra minerals and hormones.
- Chop the fish parts into small pieces and place them in a large bucket or container. Add some water to cover the fish and some brown sugar or molasses to speed up the fermentation process. You can also add some Epsom salt or wood ash for more magnesium and potassium.
- Cover the bucket with a lid or a cloth and place it in a warm and dark place. Stir the mixture once a day to aerate it and prevent mold growth. The fermentation process can take from two weeks to two months, depending on the temperature and the amount of sugar added.
- Strain the liquid from the solid parts and store it in an airtight container. You can compost the solid parts or use them as animal feed. Your fish emulsion fertilizer is ready to use!
- Dilute the fish emulsion with water before applying it to your weed plants.
The recommended ratio is 1:10 for seedlings and 1:5 for mature plants. You can apply it once every two weeks during the vegetative stage and once every four weeks during the flowering stage. Avoid applying it too close to harvest time, as it can affect the taste and smell of your buds.
Homemade Cannabis Nutrients - FAQs
Homemade compost can be beneficial for cannabis plants if it is well-made and properly cured. Compost provides organic matter and nutrients to the soil, improving its structure and water retention. However, compost can also harbor pathogens, pests, and weeds that can harm the plants.
Therefore, it is important to use high-quality compost that has been heated to kill any unwanted organisms and has been aged for at least six months before applying it to the plants.
Urine from humans is a cheap and effective source of nitrogen for cannabis plants. Nitrogen is essential for the growth of leaves and stems, especially during the vegetative stage. However, urine should be diluted before applying, as it also contains salts and other substances that can harm plants. Urine should also be avoided if the person is on medication or has health issues.
One way to make homemade nutrients for plants is to use compost. Compost is organic matter that has decomposed and can provide essential nutrients and minerals for plants. You can make compost by collecting kitchen scraps, yard waste, and other organic materials and placing them in a bin or pile. You should turn the compost regularly and keep it moist but not wet. After a few months, the compost will be ready to use as a fertilizer for your plants.
Natural nitrogen for cannabis is an essential nutrient that helps plants grow healthy and strong. Nitrogen is found in organic matter such as compost, manure, blood meal, and fish emulsion. Nitrogen can also be added synthetically through fertilizers, but this may have negative effects on the soil and the environment.
Epsom salt is a common household product that can provide magnesium to cannabis plants. Magnesium is an essential nutrient for photosynthesis and enzyme production. Epsom salt can be dissolved in water and applied as a foliar spray or added to the soil.
Compost tea is a liquid solution that contains beneficial nutrients and microorganisms for cannabis plants. It can improve the soil health, water retention, plant growth, and disease resistance of your cannabis garden. Here is a simple recipe for making a good compost tea:
- Fill a large bucket with water and let it sit for 24 hours to dechlorinate.
- Add some compost to a mesh bag and tie it closed. Use compost with a rich biome of fungi and bacteria.
- Place the bag in the bucket and add some unsulfured molasses, humic acid, and sea kelp. These ingredients will feed the microbes and increase their population.
- Attach an air pump and a bubbler to the bucket and turn it on. This will aerate the water and keep the microbes alive.
- Let the tea brew for 24 to 36 hours. It should smell earthy and sweet when it is ready.
- Remove the mesh bag and squeeze out the excess liquid. You can use the compost for your garden or add it back to your compost pile.
- Dilute the mixture with water before applying it to your cannabis plants. You can use it as a soil drench or a foliar spray.
Growing marijuana organic has many benefits for both the growers and the consumers. Some of these benefits are:
*Best power, taste, and flavor: cannabis retains terpenes and natural cannabinoids that give each variety its aroma and its unique effects. Chemical fertilizers and pesticides can reduce or alter these compounds, with consequent lower quality peaks.
*Better for the environment: cannabis cultivation avoids the use of synthetic chemicals that can pollute the soil, water, and air. Organic growers also use natural methods to enrich the soil and prevent pests and diseases, such as composting, mulching, companion planting, and beneficial insects.
*Safer to consume: cannabis is free of harmful residues that can affect the health of consumers. Chemicals used in conventional growing can accumulate in the plant tissues and cause adverse reactions, such as headaches, nausea, allergies, or even cancer.
Some of the best natural nutrients you can use are:
- Worm castings: These are the excrements of earthworms that contain nitrogen, phosphorus, potassium, and beneficial microorganisms. Worm castings can be mixed with the soil or used as a top dressing.
- Bat guano: These are the droppings of bats that are rich in nitrogen and phosphorus. Bat guano can be added to the soil or brewed into tea for watering.
- Fish emulsion: This is a liquid fertilizer made from fish waste that provides nitrogen, phosphorus, and trace elements. Fish emulsion can be diluted with water and applied as a foliar spray or a soil drench.
- Seaweed: This is a marine plant that contains potassium, calcium, magnesium, and micronutrients. Seaweed can be used as a mulch, a compost ingredient, or a liquid extract for watering.
- Compost: This is a mixture of organic matter that has decomposed and turned into humus. Compost can improve the soil structure, water retention, and nutrient availability of marijuana plants. Compost can be made at home or purchased from a garden shop.
ILGM Fertilizer
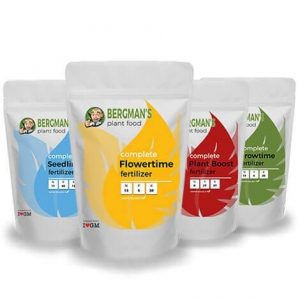
- From seedling to harvest, give your plants everything they need.
- Enough for feeding at least 5 plants.
- Discounted Package Deal
- Works well in soil, hydroponics, and other growing mediums.
- The best way to treat your plants
ILGM Plant Protector
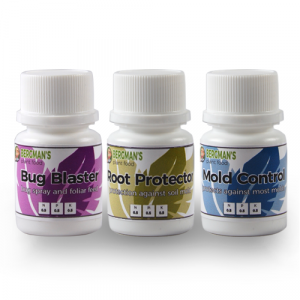
- Protect your cannabis from diseases and harmful pests.
- Contains three 20 ml bottles.
- Enough supplies to protect 20 plants.
- It can be used in soil, hydroponic, and all other growing mediums.


