How to Grow Cannabis Plants in the Vegetative Stage
If you are a cannabis grower, you know that the vegetative stage is one of the most important growth stages of the plant’s life cycle. This is when the cannabis plant grows and develops its structure, branches, leaves, and roots. This phase also prepares the plant for the flowering stage, when it will produce buds and resin.
But how long should the vegetative phase last? And what are the best practices to ensure healthy and vigorous growth? In this blog post, we’ll answer these questions and give you some tips on how to best grow your cannabis plants.
What is the Vegetative Stage of Cannabis?
The vegetative is the stage of the plant’s life cycle during which it grows and produces leaves. This stage typically lasts for 2-8 weeks, depending on the strain and growing conditions. During this time, the plant needs lots of light and nutrients to grow.
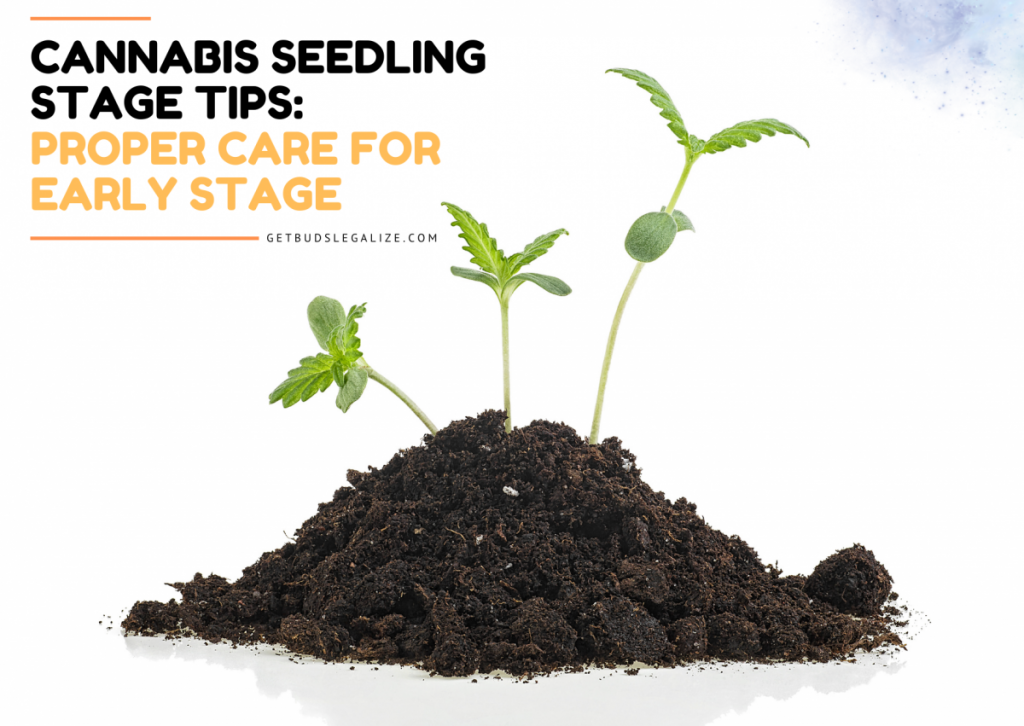
The vegetative phase begins after the seedling phase, which lasts for 1-3 weeks. The seedling stage is when cannabis seeds germinate and develop their first pair of true leaves, and that ends when the plant has at least 3-4 pairs of true leaves.
The vegetative ends when the plant starts to show signs of sex, either male or female. This usually happens when the plant receives less than 12 hours of light per day, either naturally or artificially. This triggers the flowering phase, which lasts for 7-14 weeks.
How Long Should the Vegetative Phase Last?
There is no definitive answer to how long the veg stage should last, as it depends on several factors, such as:
- The strain: Some strains are faster than others, and some have different growth patterns. For example, Indica strains tend to be shorter and bushier, while Sativa strains tend to be taller and lankier. Indica strains usually have a shorter vegetative stage than Sativa strains.
- The growing method: Some growing methods allow for more control over the plant’s size and shape, such as hydroponics, soilless media, or training techniques. These methods can shorten or extend the vegetative according to your preference.
- The growing space: The size and shape of your growing space will also affect how long you can keep your plants vegetative. If you have limited space, you may want to switch to flowering sooner to avoid overcrowding or height issues. If you have a large space, you may want to veg longer to fill it up with more branches and buds.
- The desired yield: The longer you keep your plants in vegetative, the bigger they will get, and potentially, the more buds they will produce. However, this also means more time, energy, and resources spent on maintaining them. You have to balance your expectations with your resources and find the optimal veg time for your situation.
As a general rule of thumb, most growers veg their plants for 4-6 weeks before switching to flowering. This allows for enough time for the plants to develop a strong structure and a healthy root system, without wasting too much time or space.
However, you can veg your plants for shorter or longer periods depending on your goals and preferences. For example:
- If you want to grow small plants stealthily, you can veg them for only 2-3 weeks or even less. This is also known as “sea of green” (SOG) method, where you grow many small plants in a tight space and harvest them quickly.
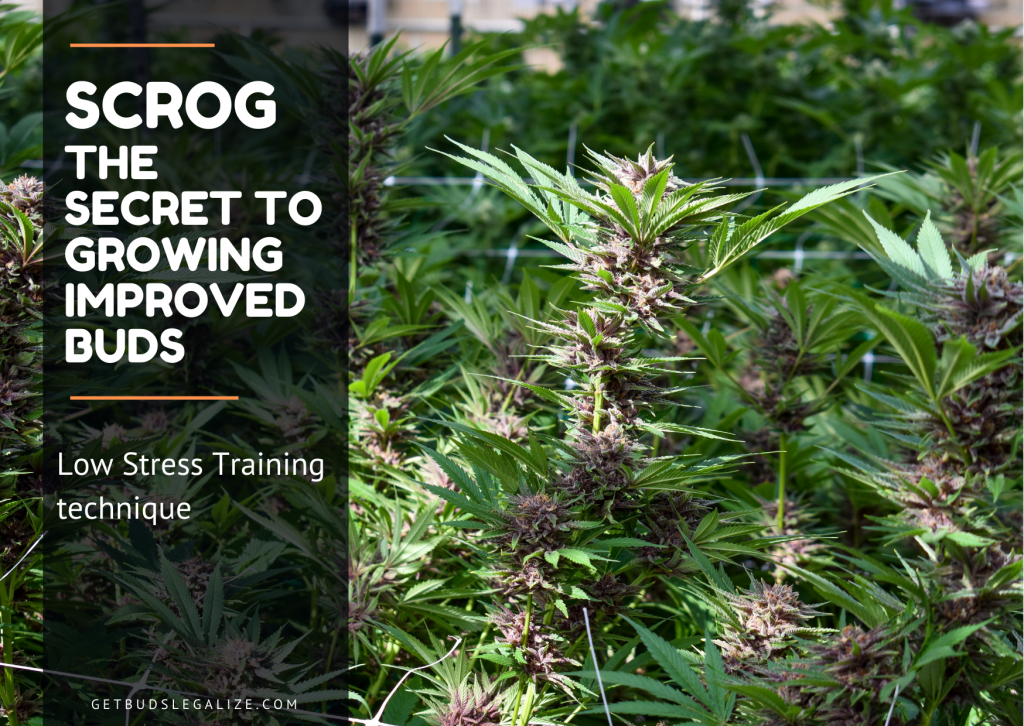
- If you want to grow large plants with multiple branches and colas, you can veg them for 8 weeks or more. This is also known as “screen of green” (SCROG) method, where you use a screen or a net to train your plants horizontally and create an even canopy of buds.
- If you want to grow autoflowering plants, which have a fixed life cycle regardless of light schedule, you don’t have to worry about vegging at all. Autoflowers will automatically switch from vegging to flowering after 3-4 weeks from germination.
How Many Hours of Light do Marijuana Plants Need in the Vegetative Stage?
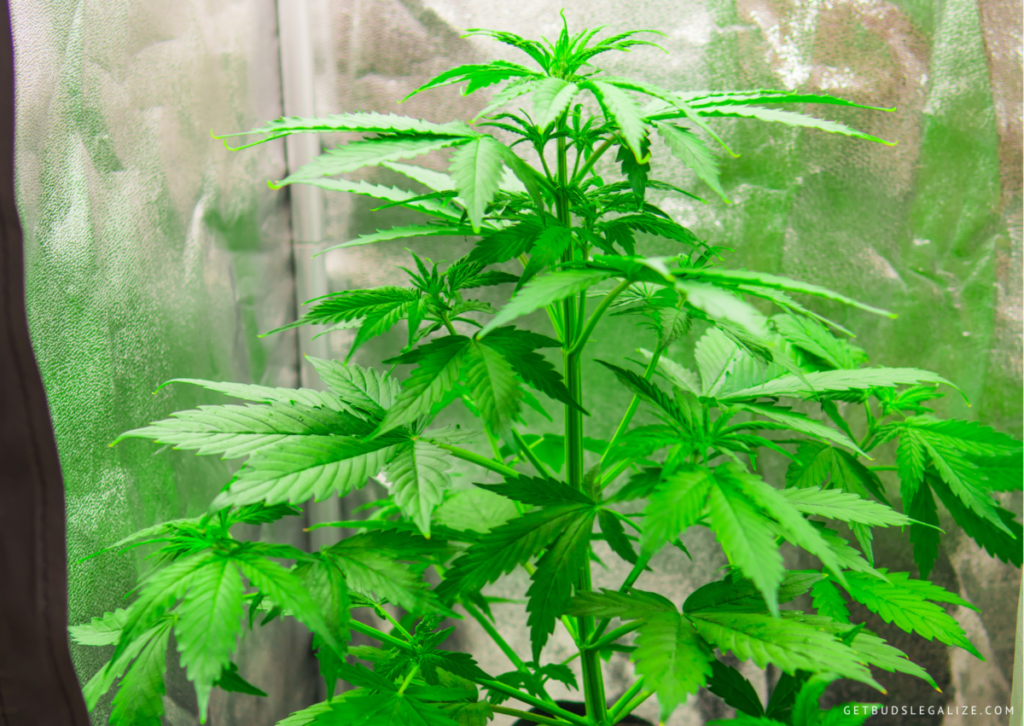
An important aspect of lighting for growing marijuana is the light cycle, which refers to the duration and frequency of light exposure. The light cycle affects the plant’s circadian rhythm and hormonal balance, which in turn influences its growth rate and flowering time. For the veg stage, marijuana plants need a long period of light exposure to maintain their vegetative state and prevent them from flowering prematurely.
The most common light cycle for the veg phase is 18 hours of light and 6 hours of darkness (18/6), which mimics the natural day length during spring and summer. However, some growers prefer to use a continuous light cycle of 24 hours of light and 0 hours of darkness (24/0), which can boost the growth rate and yield potential of the plants but also increase energy consumption and heat production.
How to Choose the Best Light for Growing Marijuana
The best light for marijuana plants during the vegetative depends on several factors, such as the type of strain, the size of the grow space, the budget, and the energy consumption. However, some general guidelines can be followed to ensure optimal growth and health of the plants.
One of the most important aspects of lighting for marijuana plants is the light spectrum, which refers to the color or wavelength of the light. Different light spectrums have different effects on the plant’s development and morphology. For the vegetative phase, weed plants benefit from a blue light spectrum, which stimulates vegetative growth, increases branching, and reduces stretching. Blue light can be found in natural sunlight, but also in artificial lights such as metal halide (MH), fluorescent (FL), and LED grow lights. The ideal color temperature for blue light is around 6500K.
Another important aspect is light intensity, which refers to the amount or strength of light that reaches the plant’s canopy. The light intensity affects the plant’s photosynthesis and respiration, which determine its energy production and consumption. Marijuana plants need a high level of light intensity to maximize their growth potential and produce strong stems and leaves.
The optimal light intensity can vary depending on the type of light source, but a general rule of thumb is to provide between 400 and 700 micromoles per square meter per second (µmol/m2/s) of photosynthetically active radiation (PAR), which is a measure of the usable light for plants. To achieve this level, the distance between the light source and the plant’s canopy should be adjusted accordingly, depending on the wattage and coverage area of the grow light.
Choosing the best light during this stage requires careful consideration of several factors, such as the light spectrum, the light cycle, and the light intensity. By following these guidelines, growers can ensure the optimal growth and health of their plants and prepare them for a successful flowering phase.
What is the ideal Temperature and Relative Humidity for the Vegetative State?
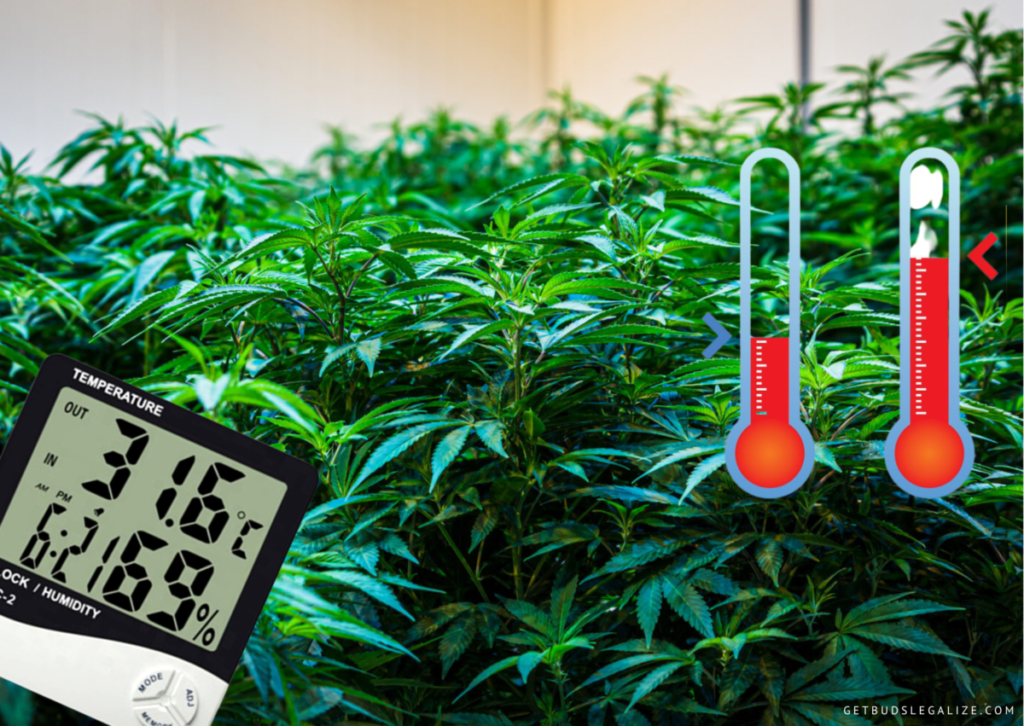
The temperature and relative humidity of the grow room are two important factors that affect the plant’s metabolism, photosynthesis, transpiration, and resistance to pests and diseases. Here are some guidelines for choosing the best temperature and relative humidity:
- Temperature: The ideal temperature range in this stage is between 23°C and 25°C (73°F and 77°F) when the lights are on. This allows the plant to use light efficiently and produce sugars, proteins, and other compounds for growth. If the temperature is too high, above 30°C (86°F), the plant may suffer from heat stress, which can reduce growth, cause nutrient deficiencies, and increase the risk of pests and pathogens. If the temperature is too low, below 15°C (59°F), the plant may experience cold stress, which can slow down growth, reduce water uptake, and weaken the immune system.
- Relative humidity: The ideal relative humidity range in this stage is between 60% and 70%. This ensures that the plant can transpire properly and maintain a balance between water loss and water absorption. If the relative humidity is too high, above 70%, the plant may have difficulty transpiring, which can lead to wilting, nutrient lockout, and fungal infections. If the relative humidity is too low, below 40%, the plant may lose water faster than it can absorb it, which can cause dehydration, curling leaves, and reduced growth.
To achieve the best temperature and relative humidity, you need to monitor and adjust your grow room environment regularly. You can use a thermometer and a hygrometer to measure the temperature and humidity levels and use devices such as heaters, air conditioners, humidifiers, dehumidifiers, fans, or vents to control them. You can also use a controller that automatically regulates these devices based on your desired settings.
Water and Airflow:
Marijuana plants need adequate water and airflow to thrive and prevent diseases. Here are some tips on how to provide optimal water and airflow for your plants in the vegetative phase:
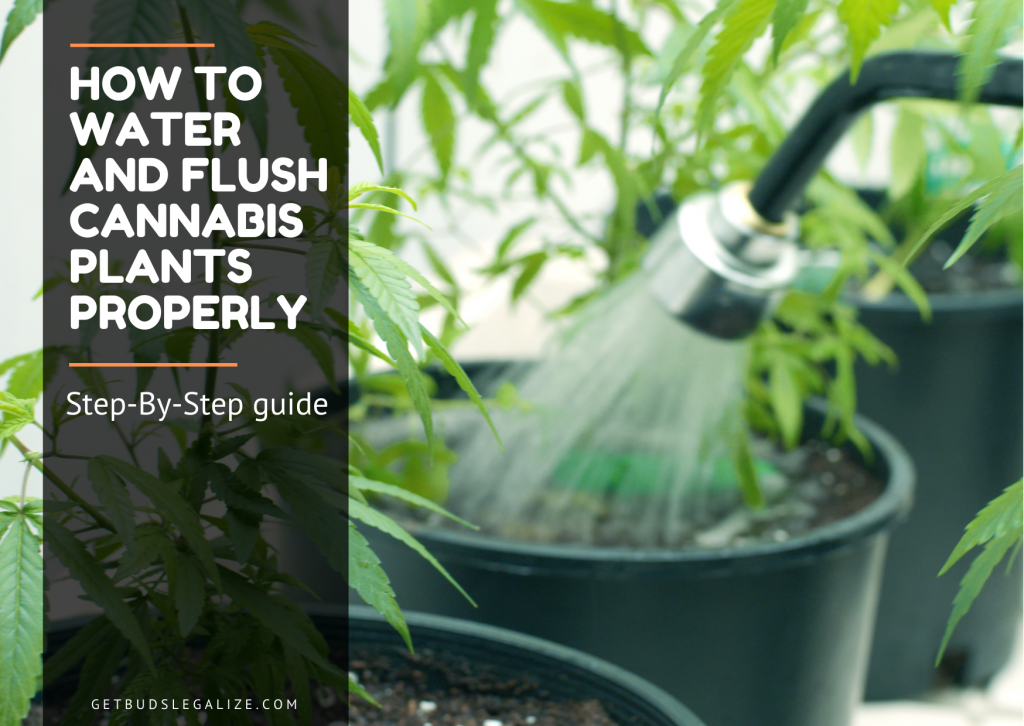
- Water: Weed plants need water to transport nutrients and oxygen throughout their cells. However, overwatering or underwatering can cause stress and damage to the plants. To avoid this, you should water your plants only when the top inch of the soil feels dry to the touch. You should also use a well-drained potting mix and avoid letting the pots sit in water. The amount and frequency of watering will depend on the size of the pots, the temperature and humidity of the environment, and the stage of growth of the plants. A general rule of thumb is to water your plants once every two or three days in the vegetative stage.
- Airflow: Weed plants need fresh air to breathe and prevent mold and pests. Airflow also helps strengthen the stems and branches by creating a gentle breeze that mimics natural wind. To provide adequate airflow, you should use a fan or an exhaust system to circulate air around your plants. You should also prune or train your plants to create space between them and allow light and air to reach all parts of the plant.
Pruning and Training:
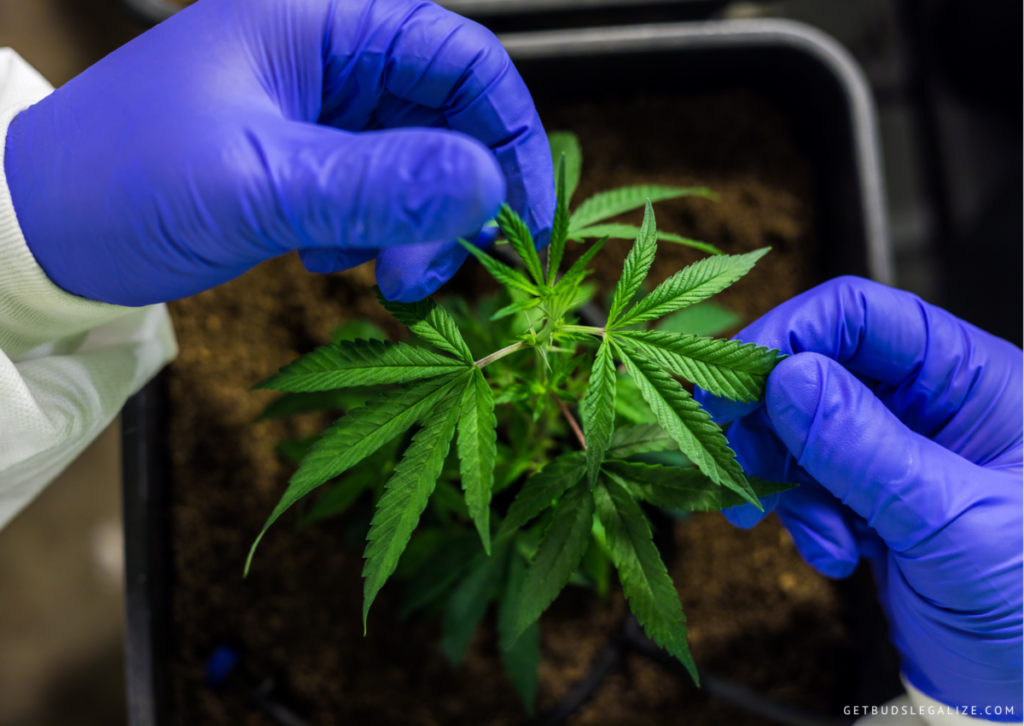
Pruning and training are two techniques that can help optimize the vegetative growth stage of marijuana plants and prepare them for a successful harvest.
- Pruning is the process of removing unwanted parts of the plant, such as lower branches, leaves, or buds. Pruning can help improve the airflow and light penetration in the canopy, reduce the risk of pests and diseases, and stimulate the growth of new shoots. Pruning should be done carefully and selectively, as over-pruning can stress the plant and slow down its growth. Pruning should also be avoided during the flowering, as it can reduce the yield and quality of the buds.
- Training is the process of manipulating the shape and direction of the plant’s growth, using techniques such as bending, tying, topping, or supercropping. Training can help create a more even and horizontal canopy, increase the number of bud sites, and maximize the use of the available space and light. Training should be done gradually and gently, as too much force can damage or break the stems. Training should also be done before the flowering, as the plant becomes less flexible and more sensitive to stress.
Pruning and training are not mandatory for growing cannabis plants, but they can offer many benefits if done correctly and timely. They can help improve the health, vigor, and productivity of the plants, as well as their appearance and quality.
However, if you are growing autoflowering plants is not recommended, as they have a very short vegetative stage and do not recover well from stress. Autoflowering plants automatically switch to flowering after a few weeks of growth, regardless of the light cycle. Therefore, any pruning or training should be done very carefully and minimally, and only in the early stages of growth. Otherwise, you may end up harming your plants and reducing your harvest.
What are the Best Nutrients to use in the Vegetative Stage?
Vegetative is a crucial phase for marijuana plants, as it determines their size, shape, and health. During this phase, cannabis plants need more nitrogen than any other nutrient, as it is essential for chlorophyll production and photosynthesis. Nitrogen also helps plants form amino acids, the building blocks that makeup proteins. Without enough nitrogen, cannabis plants will have yellow leaves, stunted growth, and weak stems.
Besides nitrogen, marijuana plants also need phosphorus, potassium, calcium, magnesium, and sulfur. These are called secondary nutrients or macronutrients, and they play important roles in various aspects of plant growth and development.
- Phosphorus is essential for root growth and development, as well as overall plant vitality. Phosphorus also helps plants produce ATP, which is the energy currency of cells. Without enough phosphorus, marijuana plants will have purple stems, slow growth, and poor bud formation.
- Potassium is essential for water regulation and nutrient transport in plants. Potassium also helps plants cope with stress and resist diseases. Without enough potassium, cannabis plants will have brown spots on the leaves, curled edges, and reduced yield.
- Calcium is essential for cell wall strength and structure, enzyme activation, and nutrient uptake. Calcium also helps plants maintain a stable pH level in the soil. Without enough calcium, marijuana plants will have distorted leaves, weak stems, and blossom end rot.
- Magnesium is essential for chlorophyll synthesis and photosynthesis. Magnesium also helps plants use other nutrients more efficiently. Without enough magnesium, marijuana plants will have yellowing between the veins of the leaves, reduced growth, and low-quality buds.
- Sulfur is essential for protein synthesis and amino acid formation. Sulfur also helps the plants produce terpenes, which are responsible for the aroma and flavor of cannabis. Without enough sulfur, cannabis plants will have light green leaves, reduced resin production, and bland buds.
Organic Fertilizers vs Synthetic Fertilizers
One of the most important decisions that growers have to make is what type of fertilizer to use for their plants: organic or synthetic.
- Organic fertilizers are derived from natural sources such as manure, compost, plant teas, and kitchen scraps. They contain a variety of macro and micronutrients that are essential for cannabis growth and development, as well as beneficial microorganisms that help to improve soil health and structure. Organic fertilizers are generally considered to be more environmentally friendly, sustainable, and renewable than synthetic ones. They may also enhance the flavor and aroma of the buds by increasing terpene production.
- Synthetic fertilizers are man-made products that contain specific ratios of NPK (nitrogen, phosphorus, and potassium) and other elements that are readily available for plant uptake. They tend to work faster than organic fertilizers and can provide a quick boost of nutrients to deficient plants. Synthetic fertilizers are also easier to apply and measure than organic ones. However, synthetic fertilizers have some drawbacks, such as causing nutrient runoff and waste, harming soil life, increasing the risk of nutrient burn, and potentially affecting the quality of the buds.
The choice between organic or synthetic fertilizers depends on several factors, such as the growing medium, the strain, the budget, the time, and the personal preference of the grower. Some growers may even opt to use a combination of both types of fertilizers to achieve optimal results. Ultimately, the best fertilizer for cannabis is the one that meets the needs and goals of the grower and the plant.
How Often do You Feed Nutrients in the Vegetative State?
The frequency of feeding nutrients in the vegetative state depends on several factors, such as the cultivation method used, the type of soil, the size of the plants, the environmental conditions, and the quality of the water. A general rule of thumb is to feed nutrients every other watering or every two to three days. However, this may vary depending on the specific needs of your plants and the signs they show. It is important to monitor your plants closely and adjust the feeding schedule accordingly.
Overfeeding or underfeeding can cause nutrient deficiencies or toxicities that can affect the health and yield of your plants.
ILGM Fertilizer
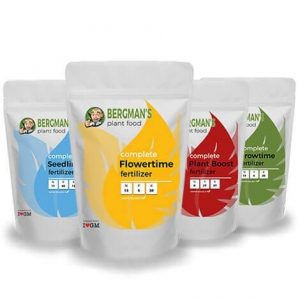
- From seedling to harvest, give your plants everything they need.
- Enough for feeding at least 5 plants.
- Discounted Package Deal
- Works well in soil and hydroponics
- The best way to treat your plants
ILGM Plant Protector
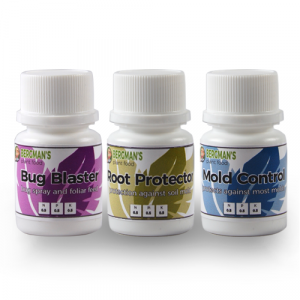
- Protect your cannabis from diseases and harmful pests.
- Contains three 20 ml bottles.
- Enough supplies to protect 20 plants.
- It can be used in soil and hydroponic
What are the correct PH and EC to keep during the Vegetative?
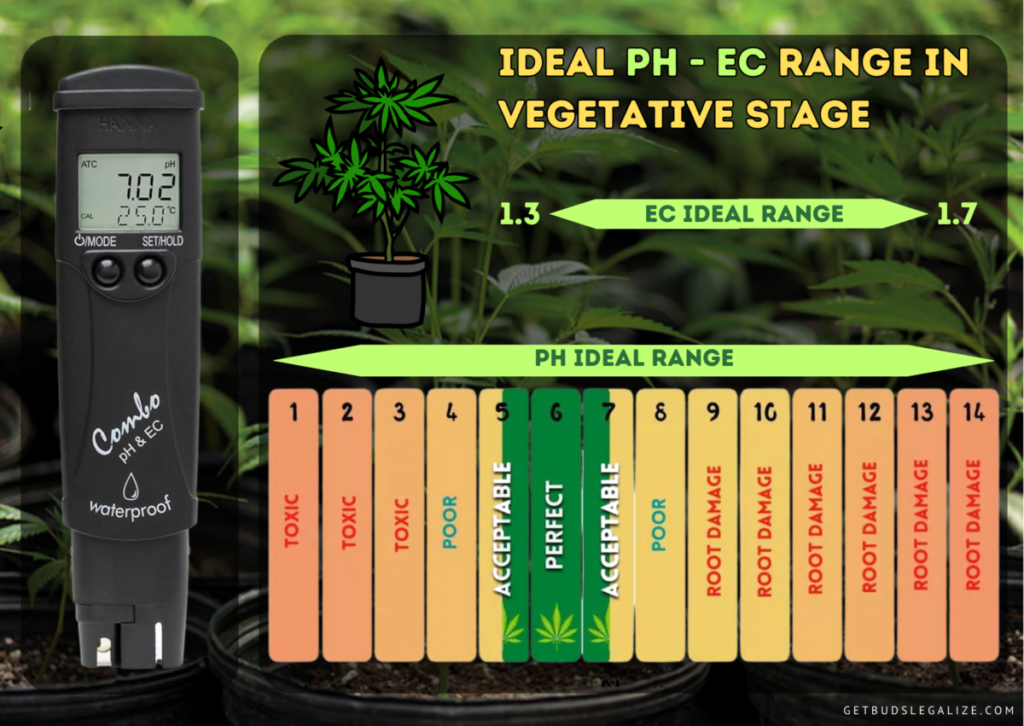
pH stands for potential hydrogen and measures how acidic or alkaline a substance is. Ec stands for electrical conductivity and measures how much-dissolved salts are present in a solution. Both pH and Ec affect the ability of marijuana plants to absorb nutrients and water, and therefore their health and growth.
The optimal pH range during vegetative is between 5.5 and 6.5 for hydroponics and 6.0 and 7.0 for soil. Soil tends to have a higher pH than hydroponic systems, so it may require more frequent adjustments. To measure the pH of the substrate or the nutrient solution, you can use a digital pH meter or pH test strips. To adjust the pH, you can use pH-up or pH-down products that are designed for gardening purposes. You should always test the pH after adding any nutrients or additives to the solution.
The optimal Ec range during vegetative is between 0.8 and 1.2 mS/cm (millisiemens per centimeter), depending on the strain and the size of the plants. Ec indicates how concentrated the nutrient solution is, and how much salt buildup is occurring in the substrate used. To measure the Ec of the substrate or the nutrient solution, you can use a digital Ec meter or an Ec pen. To adjust the Ec, you can either add more water to dilute the solution or add more nutrients to increase the strength. You should always test the Ec before watering or feeding your plants.
When & How to Transplant Weed Plants
The best time to transplant marijuana plants is when they have developed enough roots to fill their current container, but not so much that they become root-bound or tangled. This usually happens after 2-4 weeks of the vegetative, depending on the size of the container and the strain of the plant. You can check the root development by gently lifting the plant out of its pot and inspecting the bottom. If you see a lot of white roots circling the edge of the soil, it’s time to transplant.
To transplant them, you will need a larger container with drainage holes, fresh potting soil, a trowel or a spoon, and some water. Here are the steps to follow:
- Fill the new container with potting soil up to 2-3 inches from the top. Make a hole in the center that is slightly larger than the root ball of the plant.
- Water the plant in its original container until the water drains out from the bottom. This will make it easier to remove the plant and keep the soil intact.
- Carefully lift the plant out of its container by holding the stem near the base and gently squeezing the sides of the pot. Do not pull on the stem or shake off the soil.
- Place the plant in the hole you made in the new container and gently press the soil around it. Make sure the plant is at the same depth as it was in its original container and that there are no air pockets in the soil.
- Water the plant thoroughly until the water drains out from the bottom of the new container. This will help settle the soil and remove any air pockets.
- Place the plant in a sunny spot with good ventilation and adjust your watering and feeding schedule according to its new size.
Transplanting into a larger pot is a simple but crucial step in growing marijuana plants. It will allow your plants to develop a strong and healthy root system that will support their growth and flowering. Remember to transplant your plants before they become tied to the roots and to do so gently and carefully to avoid stressing them.
Cannabis Plant Week by Week Vegetative Stage
• Week 1: After germinating your cannabis seeds or rooting your clones, you can transplant them into their final pots and place them under a light source. You should provide them with 18 hours of light and 6 hours of darkness per day, preferably with a blue spectrum light that promotes vegetative growth. You should also maintain a warm temperature of around 22-26°C and relative humidity of around 40-60%. You should water your plants lightly and avoid overfeeding them with nutrients, as they are still sensitive at this stage.
• Week 2: Your plants will start to develop their first sets of true leaves, which have characteristic serrated edges and finger-like segments. You will also notice that your plants are growing taller and wider, as they stretch their stems and branches. You should continue to provide them with optimal light, temperature, and humidity conditions, and increase the water and nutrient intake gradually as they grow. You should also monitor your plants for any signs of pests or diseases, and remove any dead or damaged leaves.
• Week 3: Your plants will enter a rapid growth phase, where they can double or triple their size in a matter of days. You will see more leaves and branches emerging from the main stem and the nodes (the points where branches meet the stem). You should prune your plants lightly to remove any lower branches that receive little light and airflow, as they can waste energy and attract pests. You should also train your plants to create a more even canopy and expose more bud sites to light. You can use techniques such as topping, fimming, low-stress training (LST), or high-stress training (HST) to manipulate the shape and structure of your plants.
• Week 4: Your plants will reach their full vegetative potential, with lush green foliage and strong branches. You should continue to prune, train, water, and feed your plants regularly, and adjust the light intensity and distance to avoid burning or stretching your plants. You should also check the sex of your plants if you are growing regular seeds, as you will need to remove any male plants that can pollinate your female plants and ruin your harvest. You can identify male plants by looking for small pollen sacs that form near the nodes, while female plants have white hairs called pistils that emerge from the nodes.
• Week 5 onwards: Depending on how big you want your plants to be, you can extend the vegetative phase for several more weeks or switch to the flowering stage by changing the light cycle to 12 hours of light and 12 hours of darkness per day. If you decide to keep your plants in the vegetative stage longer, you should keep an eye on their height and width, as they can outgrow your space quickly. You should also reduce the nitrogen intake and increase the phosphorus and potassium intake, as these nutrients are more important for flowering.
Cannabis in Vegetative State Most Common Problems:
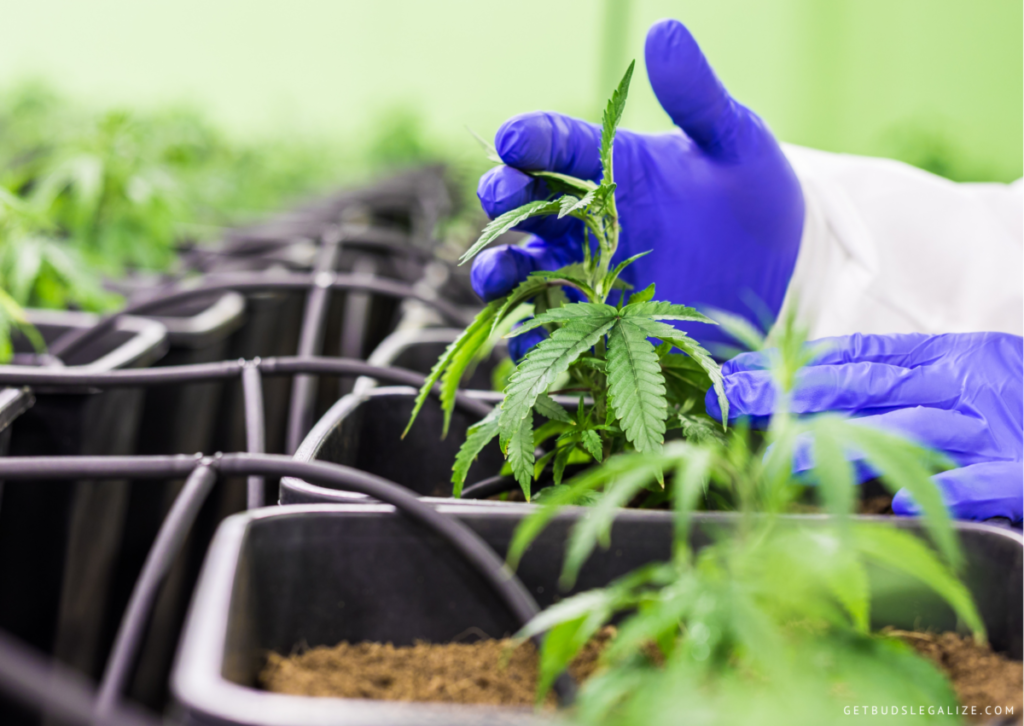
The vegetative state is a crucial phase in the cannabis life cycle, as it determines the size, shape, and health of the plants before they enter flowering. During this stage, cannabis plants need plenty of light, water, nutrients, and space to grow and thrive. However, there are also some common problems that can affect the vegetative state and cause stress, damage, or even death to the plants. Here are some of the most common problems that can occur and how to prevent or fix them:
• Stretching:
This is when the plants grow too tall and thin, with long spaces between the nodes and weak stems. Stretching can be caused by insufficient light intensity or quality, high temperatures, or genetics. Stretching can reduce the yield and quality of the buds, as well as make the plants more prone to breaking or falling over.
To prevent stretching, make sure to provide adequate light for your plants, either by using strong growing lights (LED or HID) indoors or choosing a sunny spot outdoors. You can also use techniques such as topping, pruning, or training to control the height and shape of your plants.
• Strange coloring:
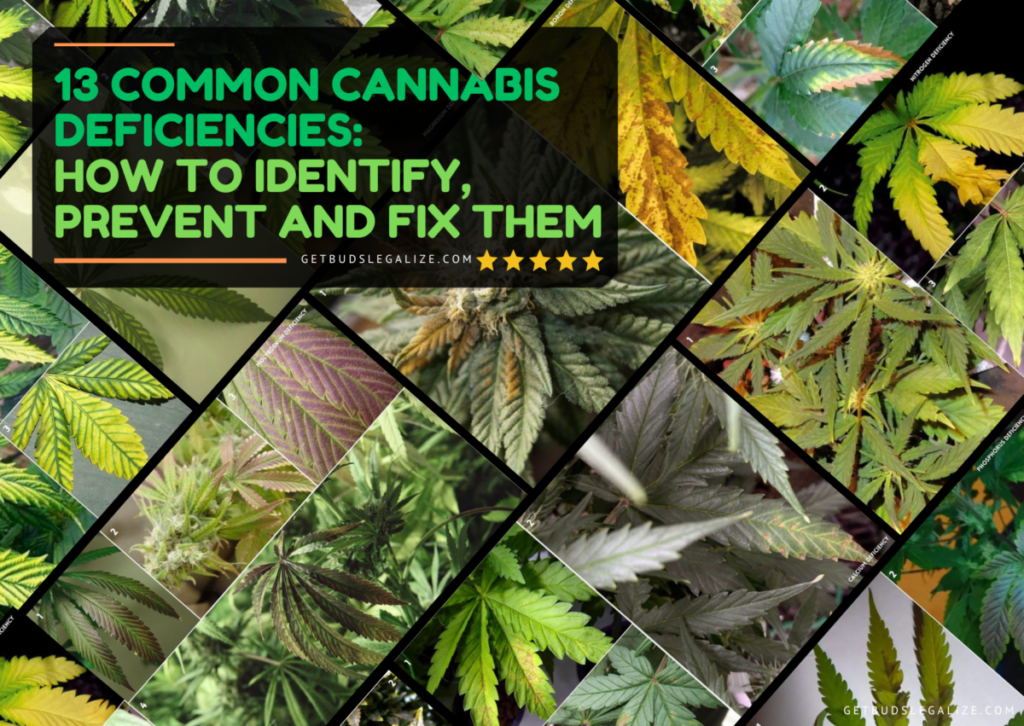
This is when the leaves or stems of the plants change color from green to yellow, purple, brown, or other hues. Strange coloring can be a sign of nutrient deficiency, nutrient toxicity, pH imbalance, temperature stress, or genetic variation. Depending on the cause and severity of the problem, strange coloring can affect the growth, health, and yield of the plants.
To prevent strange coloring, make sure to feed your plants with the right amount and type of nutrients for their stage of growth, and check the pH of your water and soil regularly. You can also use a thermometer and a hygrometer to monitor the temperature and humidity of your grow environment and adjust them accordingly.
• Leaves dropping off:
This is when the leaves of the plants fall off prematurely or easily when touched. Leaves dropping off can be a sign of nutrient deficiency, nutrient toxicity, pH imbalance, pest infestation, overwatering, underwatering, or light burn. Leaves dropping off can reduce the photosynthesis and energy production of the plants, as well as expose them to more stress and disease.
To prevent leaves from dropping off, make sure to follow the same steps as for preventing strange coloring above.
• Slow growth:
This is when the plants grow slower than expected or stop growing altogether. Slow growth can be caused by nutrient deficiency, nutrient toxicity, pH imbalance, pest infestation, overwatering, underwatering, root problems, low light intensity, or genetics. Slow growth can limit the size, yield, and quality of the buds, as well as delay the flowering.
To prevent low growth, make sure to follow the same steps as for preventing strange coloring above, and also check the roots of your plants for any signs of damage, rot, or infection. You can also transplant your plants to larger pots or prune the roots to stimulate new growth.
• Insects:
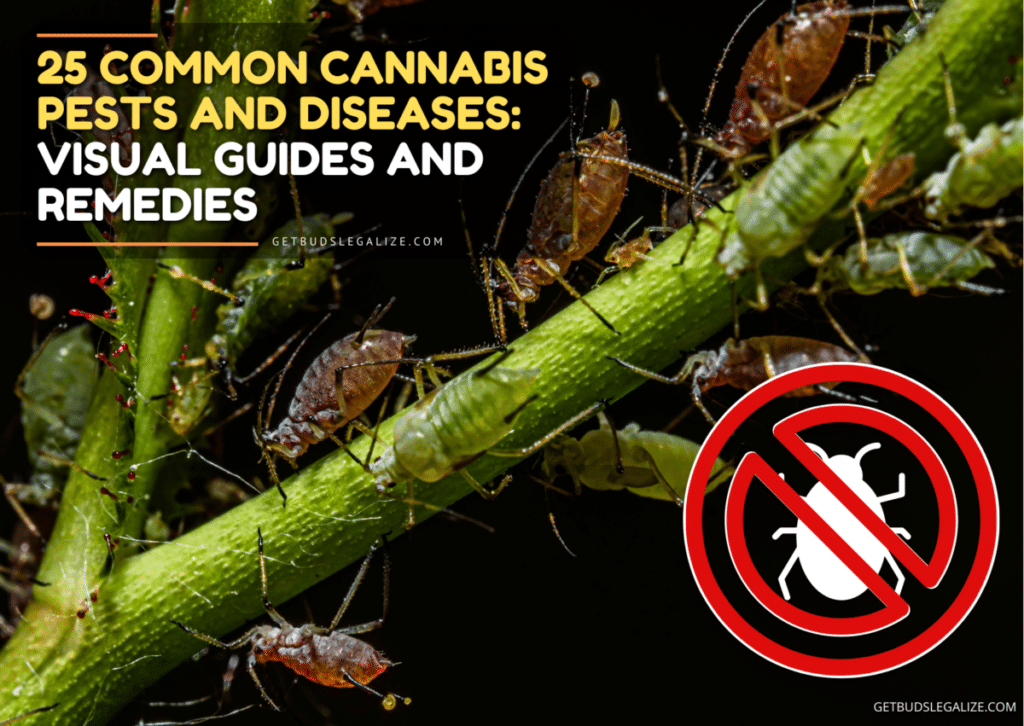
This is when small bugs such as spider mites, aphids, thrips, whiteflies, or fungus gnats attack the leaves, stems, or roots of your plants. Insects can cause physical damage, suck out the sap or chlorophyll of your plants, spread diseases, or leave behind honeydew or webbing. Insects can affect the health, growth, and yield of your plants, as well as ruin the appearance and taste of your buds.
To prevent insects, make sure to keep your grow area clean and sanitized, inspect your plants regularly for any signs of infestation, and use natural predators, organic sprays, pest-repelling plants, or neem oil to control them.
Final Thought
The vegetative stage is a crucial phase in the life cycle of marijuana plants. It is when the plants develop the structure, strength, and health that will determine their yield and quality in the flowering stage.
To grow cannabis successfully, you need to provide them with optimal conditions of light, temperature, humidity, nutrients, water, and airflow. You also need to monitor their growth and perform some techniques such as pruning, training, and transplanting to shape them according to your space and preferences.
By following these steps, you can ensure that your marijuana plants grow vigorously and robustly, ensuring that they are ready to face the next important flowering phase.

