How to Grow Autoflowering Cannabis Outdoors for Maximum Yields
Beginner-Friendly Grow Guide
Growing autoflowering cannabis outdoors is not only possible — it’s incredibly rewarding. Whether you’re working with a balcony, a backyard, or a hidden patch of soil, growing outdoors gives your plants access to natural sunlight and airflow, often resulting in rich, flavorful buds with less effort than indoor setups. And the best part? Autoflowers make it easy.
These fast-growing strains flower with age — not light cycles — meaning you can enjoy multiple harvests a year with minimal intervention. Their compact size and natural resilience make them ideal for outdoor setups of all sizes, climates, and experience levels.
Let’s walk through every stage of a successful outdoor grow — from picking the right spot to harvesting sticky, potent buds.
 Table of Contents
- Why Grow Autoflowers Outdoors? (And What to Watch Out For)
- Step 1: Plan Your Grow Site Like a Pro
- Step 2: When Should You Plant Autoflowers Outdoors?
- Step 3: Germination and Transplanting Autoflower Seeds
- Step 4: Choosing the Right Containers, Soil, and Nutrients
- Step 5: Watering Autoflower Cannabis Outdoors
- Step 6: Pest and Disease Management
- Step 7: Maximizing Outdoor Autoflower Yields
- Step 8: Harvesting and Post-Harvest Tips
- Final Thoughts: Your Outdoor Autoflower Journey Starts Here
- FAQs
🌞 Why Grow Autoflowers Outdoors? (And What to Watch Out For)
Before you dive in, let’s explore why autoflowers are so popular for outdoor cultivation—and what limitations to keep in mind.
🌱 Autoflower Benefits
- ✅ Rapid Growth: Autoflowers typically finish in just 8–10 weeks, allowing for 2–3 harvests per season in warm climates.
- ✅ Compact and Stealthy: Small size and fast growth make them perfect for balconies, patios, or guerrilla grows.
- ✅ No Light Schedule Needed: They flower automatically with age—no need to manage light cycles or cover plants.
- ✅ Resilient Genetics: Bred for strength against pests, mold, and bad weather—great for unpredictable climates.
- ✅ Beginner-Friendly: Minimal training, fewer nutrients, and very forgiving—ideal for new growers.
⚠️ Autoflower Considerations
- ⚠️ Smaller Yields per Plant: They’re smaller, so individual yield is lower—but frequent harvests can offset this.
- ⚠️ Limited Training Time: Their speed means you’ll need to stick with Low-Stress Training (LST) only.
- ⚠️ Fast Growth = Less Room for Error: Mistakes early on—like overwatering or transplant shock—can drastically stunt growth. Prep is crucial.
Step 1: Plan Your Grow Site Like a Pro
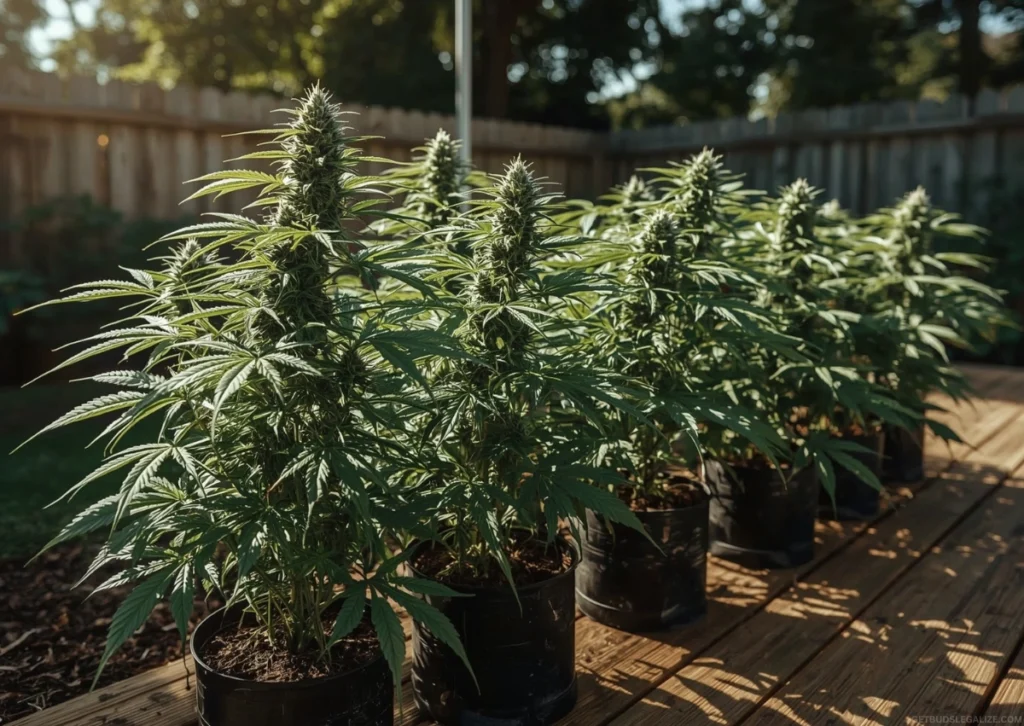
The first step to a successful outdoor grow is selecting and preparing your site. Outdoor factors—such as sun exposure, climate, soil, and location—play a critical role in determining the success of your plants. With the rapid life cycle of autoflowers, there’s little room for error in the early stages.
🌤️ Climate and Weather Conditions
Autoflowers thrive best in stable, moderate climates with daytime temperatures between 18–28°C (65–82°F). While cooler nights are usually manageable, temperatures below 10°C (50°F) can slow growth and negatively impact plant health.
Extreme heat — especially temperatures consistently above 32°C (90°F) — can lead to plant stress, slower development, and smaller yields.
Avoid planting in spots prone to frost, particularly during early spring or late autumn. Even a brief cold snap can damage young plants or delay early growth stages.
In climates with high humidity or frequent rain, excess moisture can promote mold and mildew. To reduce this risk, choose resilient autoflower strains bred for damp conditions and environmental stress.
☀️ Sunlight Exposure
While autoflowers do not rely on light cycles to trigger flowering, they still need ample sunlight for healthy growth and high yields. Ideally, your plants should receive 6–10 hours of direct sunlight per day, particularly during peak growth and flowering stages.
- 📍 Choose a south-facing location for maximum exposure.
- 🌳 Avoid shade from trees, fences, or buildings during daylight hours.
- 🔆 More sunlight means healthier plants and less reliance on extra feeding.
🛡️ Privacy and Security
Even in cannabis-friendly regions, it’s wise to maintain discretion. Autoflowering cannabis is naturally stealthy due to its small size, but extra privacy steps keep your grow safer.
- 🏞️ Use secluded locations for privacy.
- 🌿 Practice companion planting with herbs like basil, rosemary, or marigolds to camouflage your plants.
- 🦝 In remote or guerrilla plots, protect against wildlife and legal issues.
Related Article:
Step 2: When Should You Plant Autoflowers Outdoors?
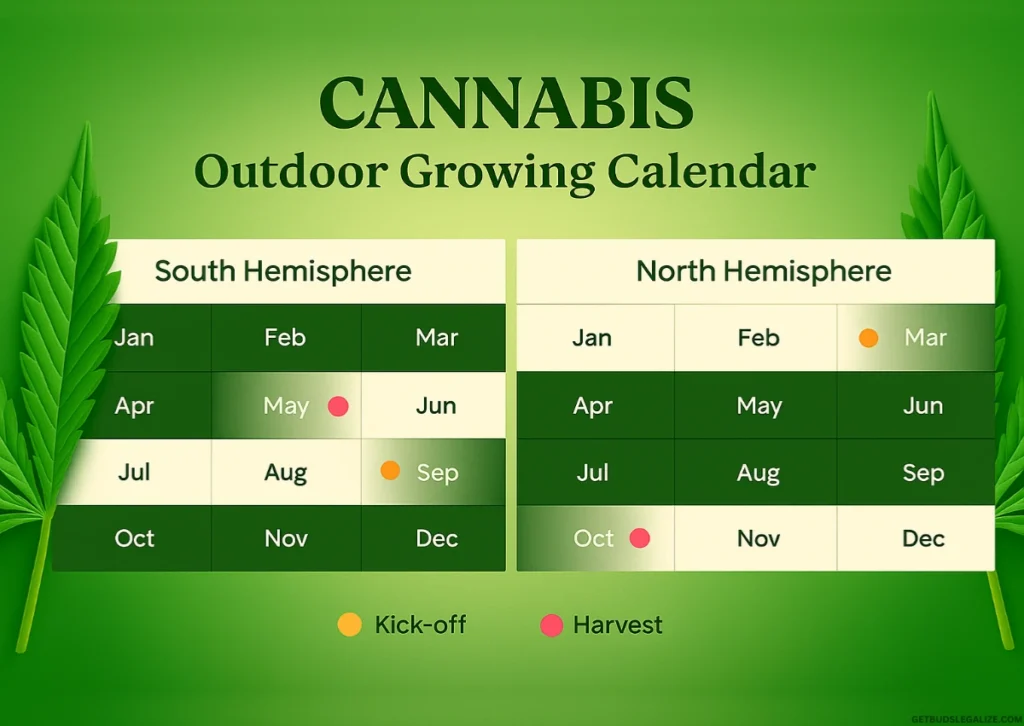
Autoflowers can be planted at almost any time of the year, depending on your climate. However, timing your planting is crucial for maximizing yields and ensuring your plants grow at their best.
🌴 Frost-Free Regions (Tropical and Mediterranean Climates)
In warm, frost-free areas, such as southern California or Thailand, autoflowers can be planted year-round. This flexibility allows for multiple harvests in a single season, maximizing your potential yield by taking full advantage of long, sunny days.
- 🌞 Key benefit: Multiple harvests per year.
- 📍 Best suited for: Tropical or Mediterranean climates with warm, stable weather year-round.
🌤️ Temperate Climates (Mild Winters)
In temperate climates with distinct seasons, it’s best to plant autoflowers during the warmer months to ensure optimal growth.
- 🗓️ Ideal planting window: Late April to early July.
- ☀️ This ensures maximum sunlight before cooler autumn temperatures arrive.
🔁 Staggered Harvests for Continuous Bud Production
One of the major advantages of growing autoflowers is their fast-growing nature. Because they don’t rely on light cycles to flower, you can plant them in cycles to ensure continuous harvests throughout the year.
Example planting cycles:
- 🌱 First Crop: Germinate in April and harvest by June.
- 🌱 Second Crop: Germinate in July and harvest by September.
- 🌱 Third Crop: Germinate in October and harvest by December (if climate allows).
This approach keeps your supply fresh and ensures consistent harvests throughout the growing season, allowing you to get the most out of your available space.
Related Article:
Step 3: Germination and Transplanting Autoflower Seeds
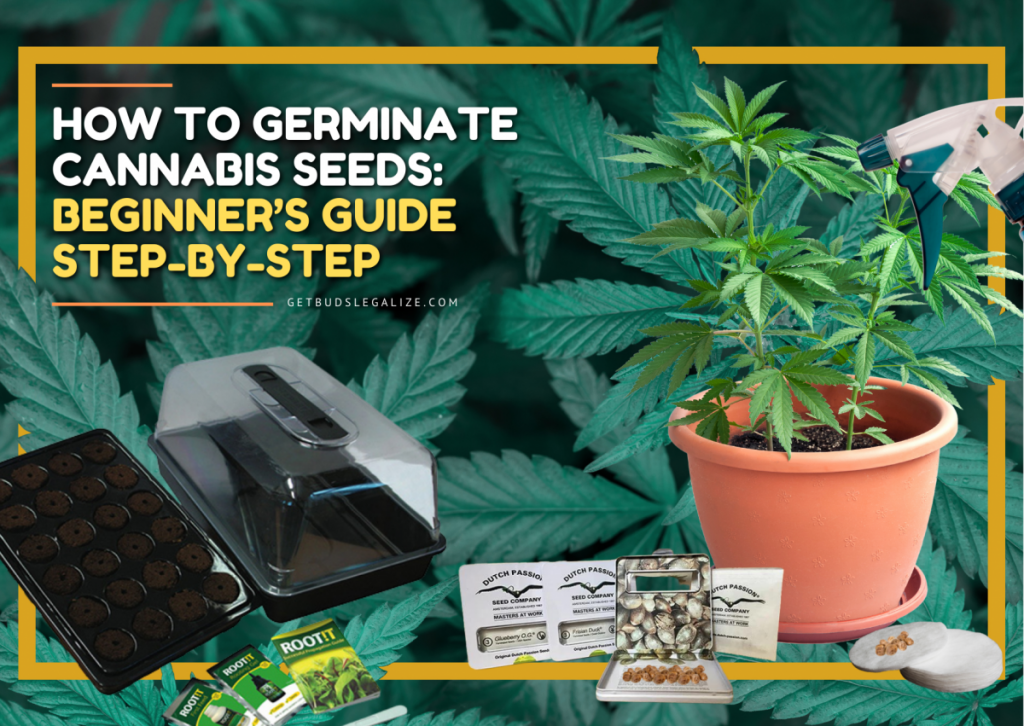
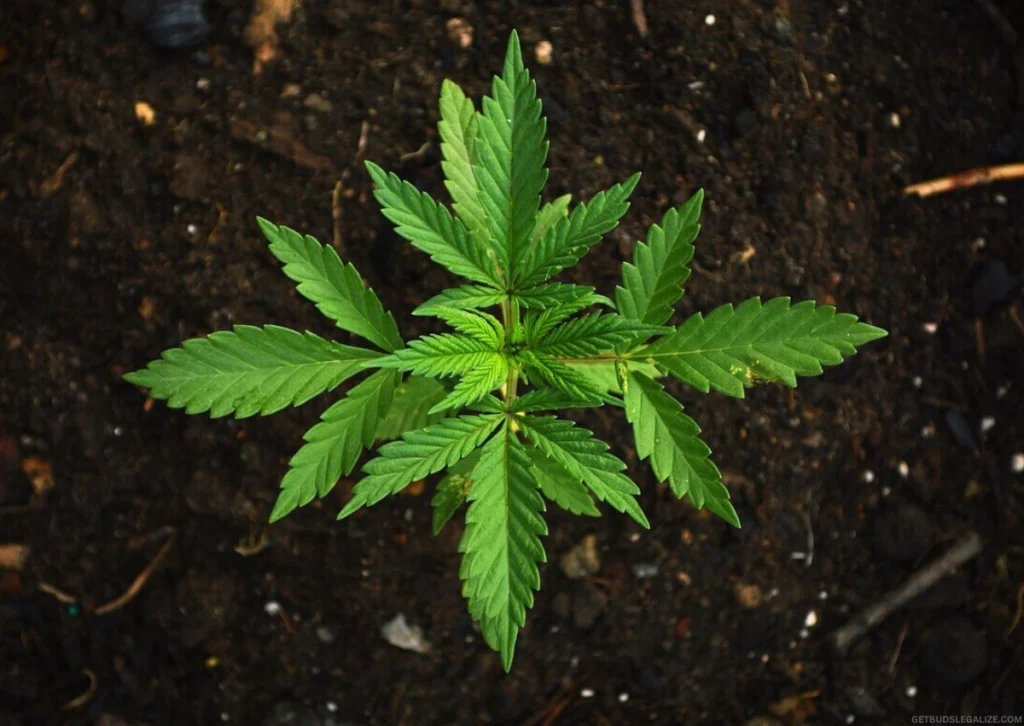
The germination process is a critical stage in the growth of your autoflowering plants. Autoflowers have little time to recover from mistakes, so it’s essential to get it right from the very start.
🌱 Germination Methods
There are several reliable methods for germinating autoflowering cannabis seeds. The two most popular methods are the paper towel method and the glass of water method. Both are simple and effective when done correctly.
1. Paper Towel Method
- Place the seed between two moist paper towels.
- Store the towels in a warm, dark location (such as a drawer or cupboard).
- Check regularly for the emergence of the taproot. This typically takes 1–3 days.
✅ Tip: Keep the paper towels gently damp throughout the process — they should feel moist, not soggy. Oversaturation can prevent airflow, which may cause the seed to decay rather than sprout.
2. Glass of Water Method
- Soak the seed in clean, room-temperature water for up to 24 hours.
- Once a crack appears or a tiny root tip emerges, the seed is ready to be planted or transferred to a germination setup.
✅ Tip: After soaking, you can place the seed directly into the soil once it has cracked, or continue to the paper towel method to encourage the taproot to grow longer.
🌿 Direct Planting vs. Transplanting
For autoflowers, it’s best to plant directly into their final container or growing space to avoid transplant stress. Transplanting can cause root disturbance and slow growth, which is especially detrimental for autoflowers due to their quick life cycle.
However, if transplanting is necessary, it should be done as early as possible, ideally before the third node appears. This minimizes the shock and gives the plant enough time to settle in its new environment.
Related Article:
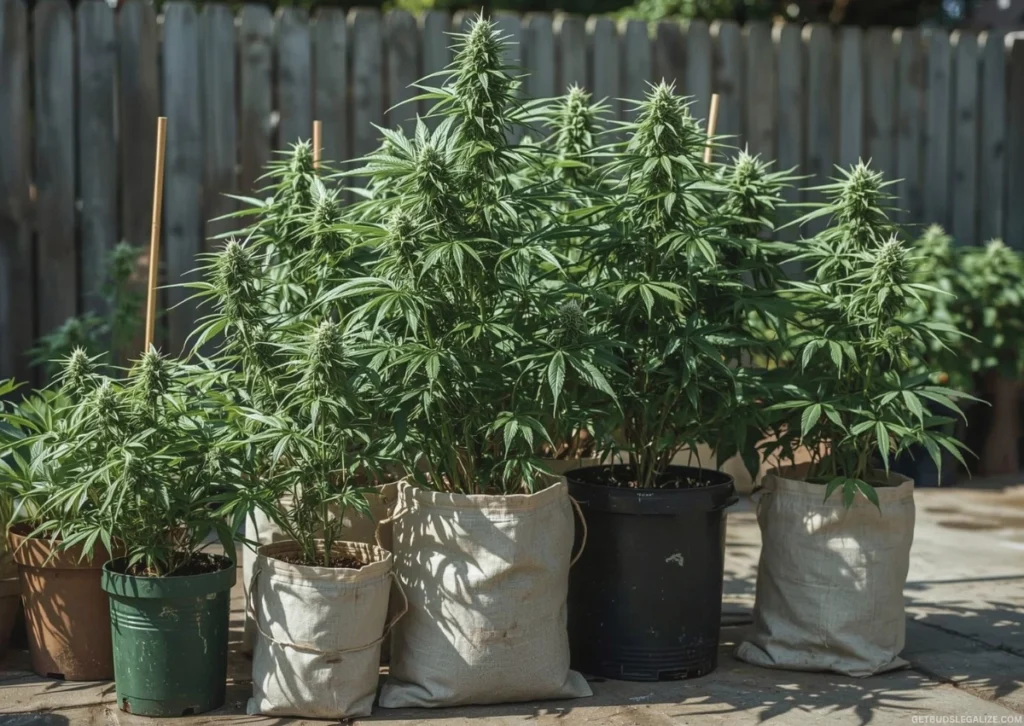
Step 4: Choosing the Right Containers, Soil, and Nutrients for Autoflowers
Selecting the right container, soil, and nutrients is essential for maximizing the growth potential of your autoflowering cannabis plants. Let’s break down the key elements:
🪴 Containers
The size of the container is crucial when growing autoflowering cannabis. Autoflowers don’t require large pots, but they still need enough space for their roots to develop properly.
- 📏 Recommended Size: Use pots between 7–15 liters (2–4 gallons) to give roots enough space without risking overwatering or oversized growth.
- 🧺 Why Fabric Pots Work Best: They allow better airflow, promote healthy root pruning, and improve drainage—making them ideal for autoflowers.
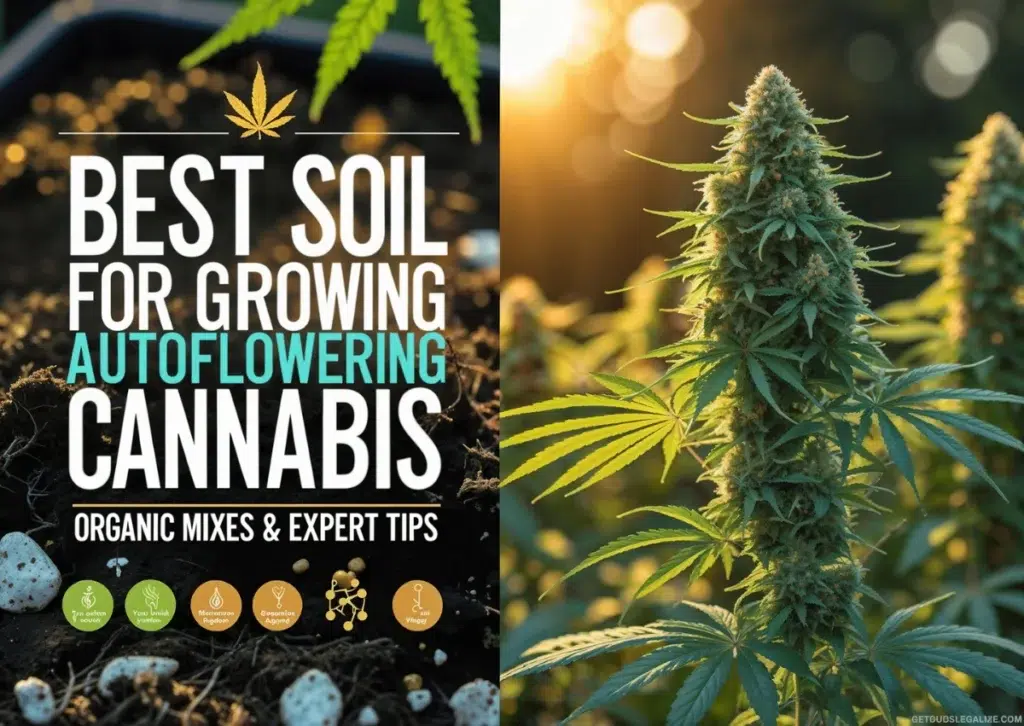
🌱 Soil
Autoflowers thrive in light, airy soils that drain well but still retain some moisture. The right soil mix supports root health, encourages strong growth, and maximizes yield.
- 💧 Moisture Retention: Use ingredients like peat moss or coco coir to retain moisture without making the soil overly saturated.
- 🌬️ Aeration: Add perlite or pumice to your soil mix to ensure good drainage and root oxygenation. This helps prevent waterlogging and root rot.
- 🌿 Organic Nutrients: Incorporating organic compost into the soil mix can provide a slow-release source of nutrients throughout the plant’s lifecycle.
✅ Tip: Avoid heavy, nutrient-rich soils that may burn autoflowering cannabis due to their low tolerance for overfeeding.
🧪 Nutrients
Autoflowers are generally light feeders, meaning they require less nutrients than photoperiod plants. Overfeeding can lead to nutrient burn, so it’s crucial to use a balanced approach.
- 🌱 Start slow: Begin with ¼ to ½ strength of a balanced nutrient mix to avoid overwhelming the plant in its early stages.
- 🌸 Switch for flowering: As your plants enter the flowering stage, switch to a high-phosphorus (P) and potassium (K) nutrient mix.
✅ Tip: During the vegetative stage, autoflowers can survive with minimal feeding. Focus on providing essential micronutrients like calcium, magnesium, and iron.
Related Article:
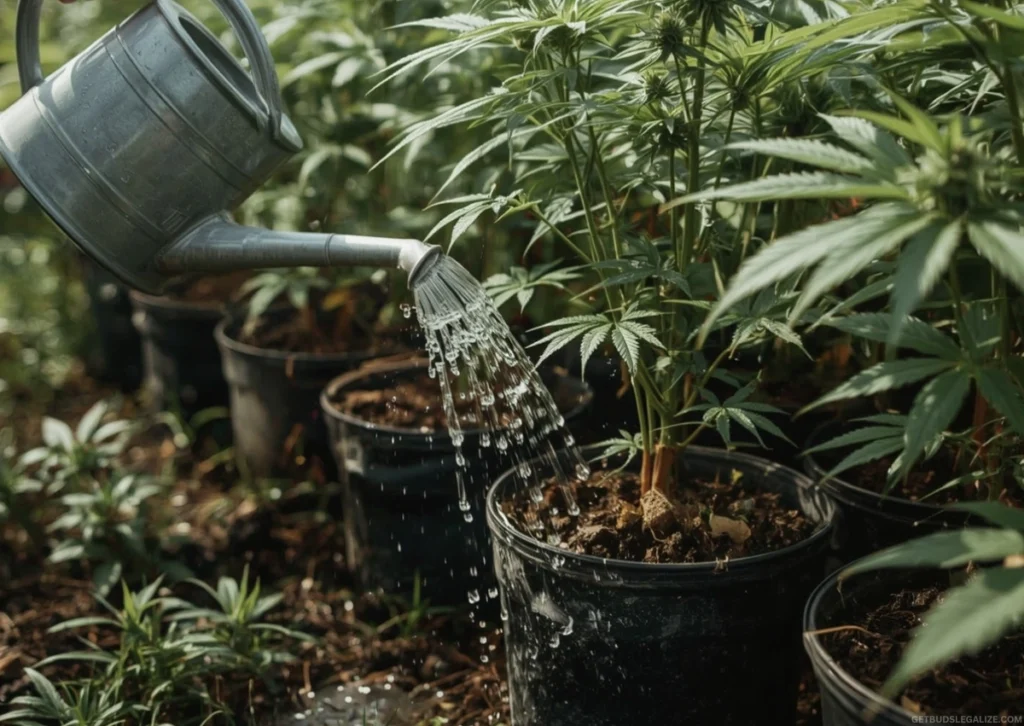
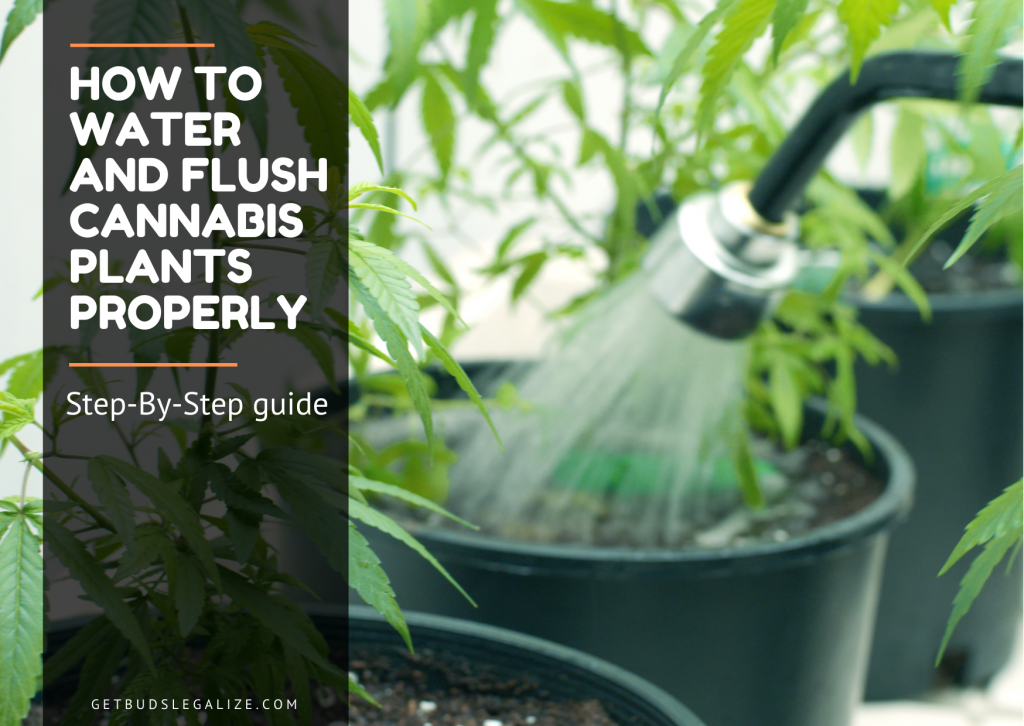
Step 5: Watering Autoflower Cannabis Outdoors
Watering your outdoor autoflowers correctly can make or break your grow. These fast-growing plants are sensitive to overwatering and underwatering, so finding the right balance is key.
Here’s how to keep your soil moist (but never soggy), encourage strong roots, and help your plants thrive in changing outdoor conditions:
1. The Finger Test: A Simple Yet Effective Method
One of the easiest and most effective ways to check soil moisture is the finger test.
- Insert your finger around 2–3 cm (1 inch) into the soil.
- If it feels dry, go ahead and water.
- If it still feels moist, hold off and check again later.
This simple method helps prevent overwatering and ensures your plants get just the right amount of moisture without drowning the roots.
2. Water Early in the Day
For the best results, water your autoflowers in the early morning. Watering early allows the soil to dry out by the evening, reducing the risk of mold and mildew, which thrive in damp conditions.
✅ Tip: If you can’t water in the morning, water during the late afternoon, but avoid getting water on the leaves as it could cause fungal issues at dusk.
3. Don’t Overwater – Keep Soil Moist, Not Soaked
Overwatering can quickly stress your autoflowers and stunt their growth.
- Autoflowers prefer moist soil, but they don’t like to be waterlogged.
- Ensure that your containers or garden beds have excellent drainage.
4. Adjust Watering Frequency to Weather Conditions
Your watering schedule should change with the environment:
- Hot, dry weather: You may need to water once or twice a day.
- Cooler or humid climates: Water less frequently; the soil retains moisture longer.
✅ Tip: Always observe your plants and check soil moisture before watering—don’t rely on a fixed schedule.
5. Practice Deep Watering
Instead of giving your plants small amounts of water often, aim for deeper, less frequent watering. This promotes stronger root growth and better drought resistance.
How to do it: Water until you see runoff from the bottom of the pot, or until the soil is thoroughly soaked to a depth of 10–15 cm (4–6 inches).
🌿 Extra Tips for Efficient Outdoor Watering
- Apply Mulch: A 2–3 cm (1 inch) layer of mulch (straw, bark, or dry grass clippings) helps keep the soil moist, reduces evaporation, and insulates the root zone.
- Use Rainwater if Possible: Rainwater lacks the chlorine and salts found in tap water that can build up in the soil over time.
- Consider a Moisture Meter: For precision growers, a moisture meter can remove guesswork and ensure accuracy in changing weather.
Related Article:
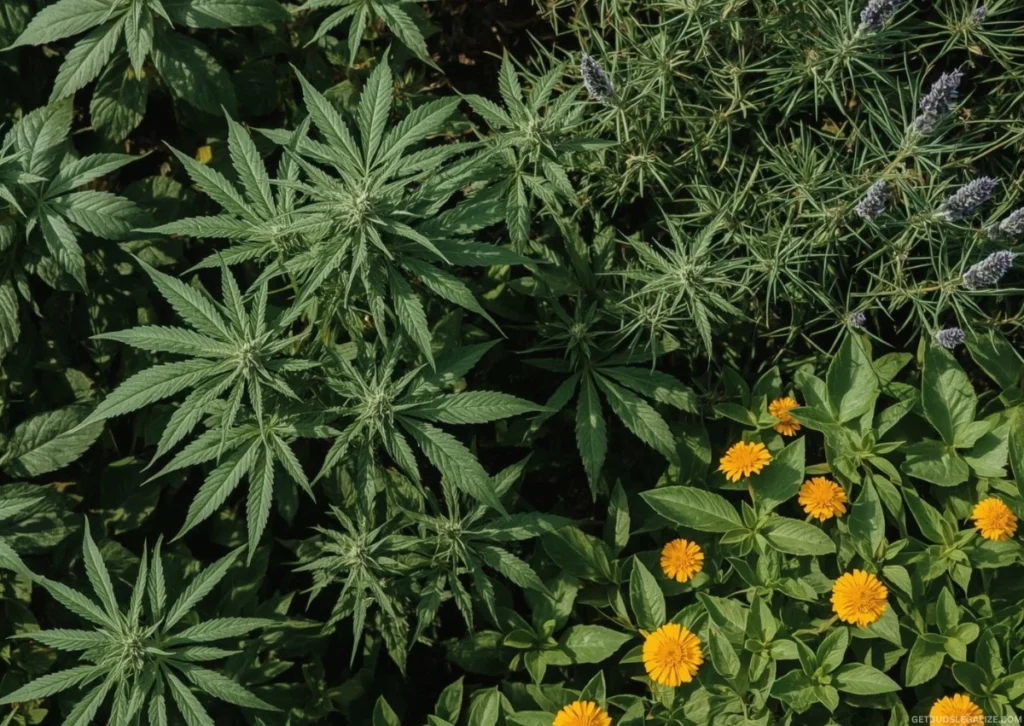
Step 6: Pest and Disease Management
While autoflowers are known for their resilience, outdoor conditions still pose risks, from pests and pathogens to curious wildlife.
The good news? Their short lifecycle works in your favor, limiting the window for infestations to take hold.
Follow these natural, low-impact techniques to protect your plants and keep your garden thriving all season long:
1. Companion Planting for Natural Pest Control
Companion planting is a natural and effective method to repel pests and attract beneficial insects. Certain plants release scents that deter harmful insects while drawing in helpful ones.
- Basil and rosemary: Repel spider mites, aphids, and whiteflies.
- Marigolds: Excellent for repelling nematodes and aphids.
- Lavender and mint: Help mask the scent of cannabis, making it harder for pests to locate your plants.
By surrounding your autoflowers with these pest-repelling plants, you can create a natural barrier that reduces the need for chemical pesticides.
2. Use Organic Pest Sprays Wisely
For organic pest control, use neem oil and insecticidal soap. These are effective at controlling pests such as aphids, spider mites, and thrips.
- Application: Spray once a week during the vegetative and early flowering stages.
- Timing: Always apply in the early morning or evening to avoid burning your plants under the sun.
These products are gentle on plants but lethal to soft-bodied pests, making them a great alternative to chemical pesticides.
3. Set Up Physical Barriers
Larger threats like rabbits, deer, or birds can destroy outdoor grows quickly.
- Use chicken wire or garden mesh cages to keep animals out.
- Install fine insect netting to block flying bugs while maintaining airflow.
A simple barrier setup can protect your grow from unexpected outdoor threats.
4. Inspect Your Plants Regularly for Early Warning Signs
Regular plant inspections are essential for catching pest or disease issues early. Look out for:
- Discolored or curling leaves
- Bite marks, holes, or webbing
- Sticky residue (a sign of sap-sucking insects)
The earlier you spot an issue, the easier it is to manage.
5. Prune for Airflow and Light Penetration
Pruning your autoflowers improves both light penetration and airflow. This is key for keeping your plants healthy and minimizing pest and disease risks.
- Remove leaves near the soil or ones that block airflow between branches.
- Focus on removing lower growth that stays shaded and damp.
Better airflow helps prevent moisture from collecting around the base — a common trigger for mold and fungal infections.
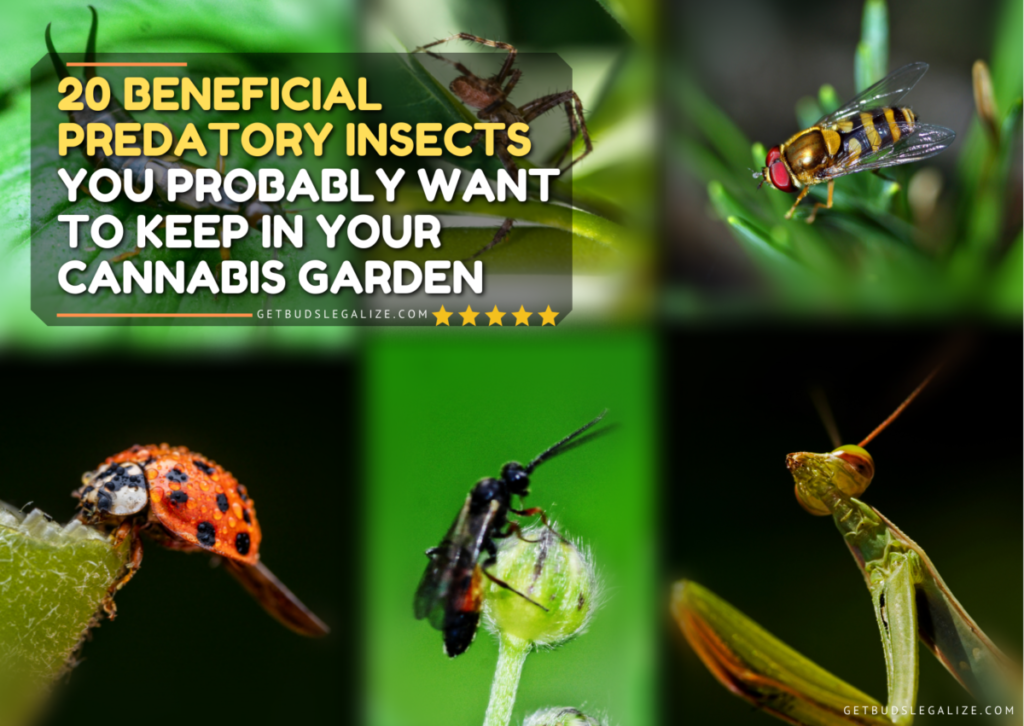
6. Attract or Introduce Beneficial Insects
Encourage natural pest control by introducing beneficial insects to your grow area. For example:
- Ladybugs: Excellent for controlling aphids.
- Predatory mites: Naturally manage spider mite populations before they become a problem.
These insect allies reduce your need for sprays and help maintain a balanced, pest-free grow environment.
Related Article:
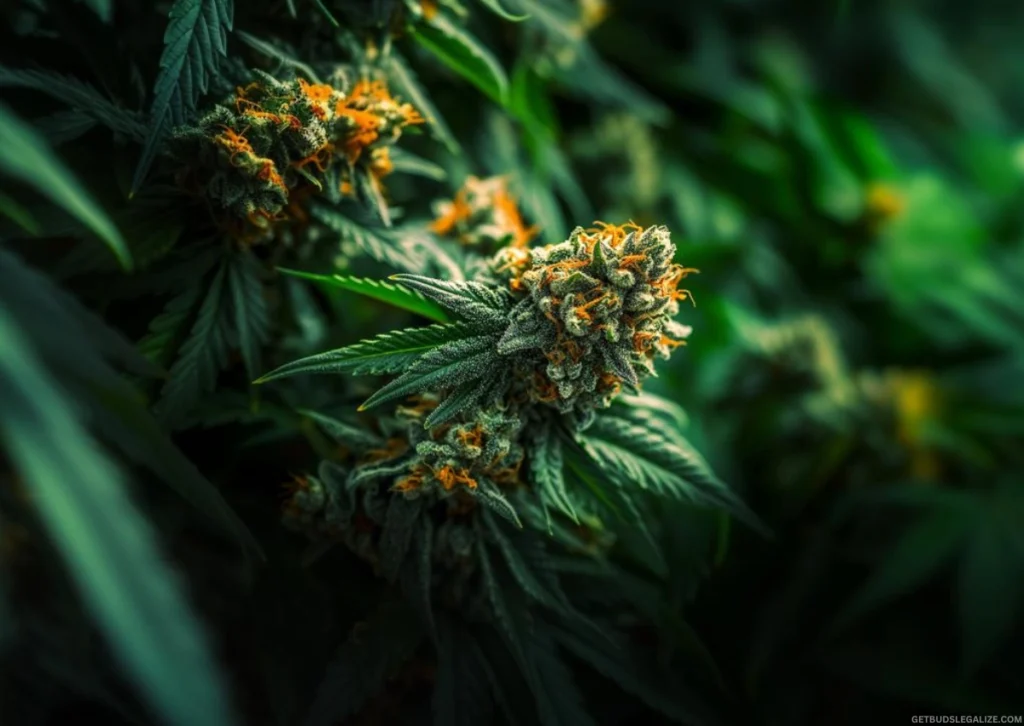
Step 7: Maximizing Outdoor Autoflower Yields
To get the best results from your outdoor autoflowering plants, you’ll need to combine smart genetics with attentive care and effective growing techniques. When optimized correctly, even a small outdoor setup can deliver impressive yields.
☀️ Maximizing Sunlight Exposure
Sunlight is the most important factor when it comes to maximizing autoflower yields. The more light your plants receive, the better they will grow and the more buds they will produce.
- Location: Choose a sunny location with 6–10 hours of direct sunlight daily.
- Reflective Surfaces: Use white walls, Mylar, or bright rocks to bounce extra light onto your plants.
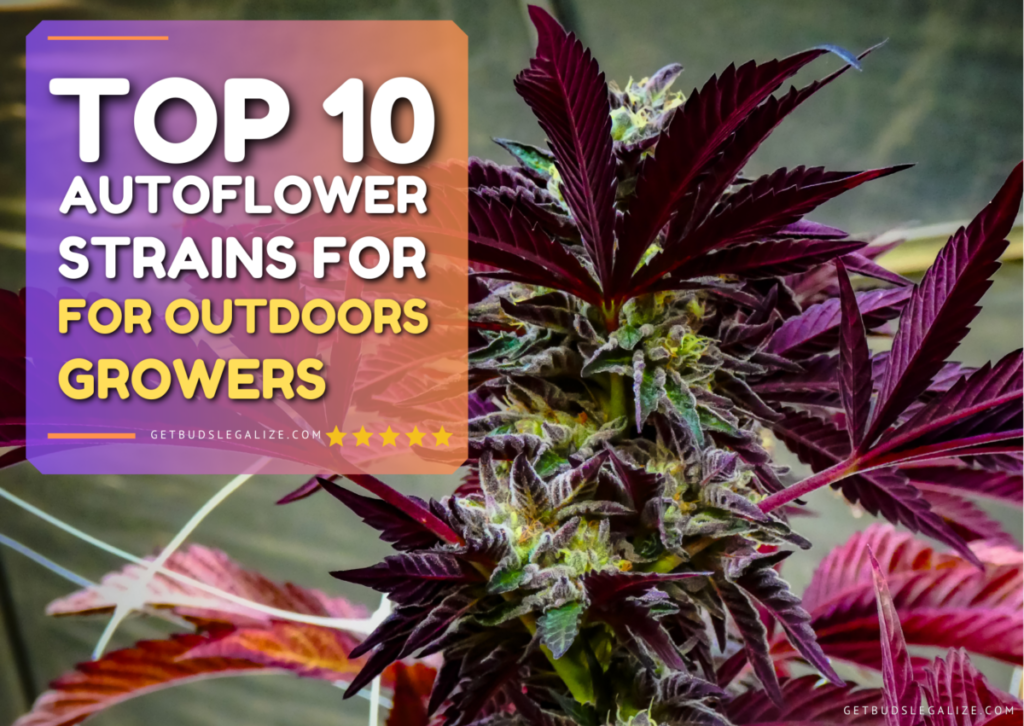
🌿 Selecting High-Yielding Strains
Choosing the right autoflowering strain is crucial for maximizing yields. Look for strains bred specifically for high production and outdoor resilience.
These strains are known for high output and tolerance to unpredictable climates—perfect for first-time growers.
🪴 Using the Right Container Size
Container size directly impacts root development—and more roots mean more buds.
- Recommended Range: Use 7–15 liter pots (2–4 gallons), or go up to 20L for bigger yields.
- Why Fabric Pots Are Ideal: Air pruning, better drainage, and improved root oxygenation.
🌱 Train Your Plants with Low-Stress Training (LST)
Since autoflowers don’t recover well from high-stress training, stick with LST to shape your canopy and increase bud sites.
- What LST Does: Bend and secure branches to open the plant and improve light penetration.
- When to Start: Begin around week 2–3, once 3–4 nodes have formed. Be gentle—use soft ties.
This simple method can dramatically increase your final yield without stressing the plant.
🔁 Stagger Your Planting for Multiple Harvests
One of the biggest benefits of autoflowers is their speed. With some strains finishing in 8 weeks, you can fit multiple cycles into one season.
Staggered Planting Tip: Start new batches every 4–6 weeks. This keeps your garden productive from spring to fall.
Perfect for consistent personal use or keeping a small-scale supply steady all year.
Related Article:
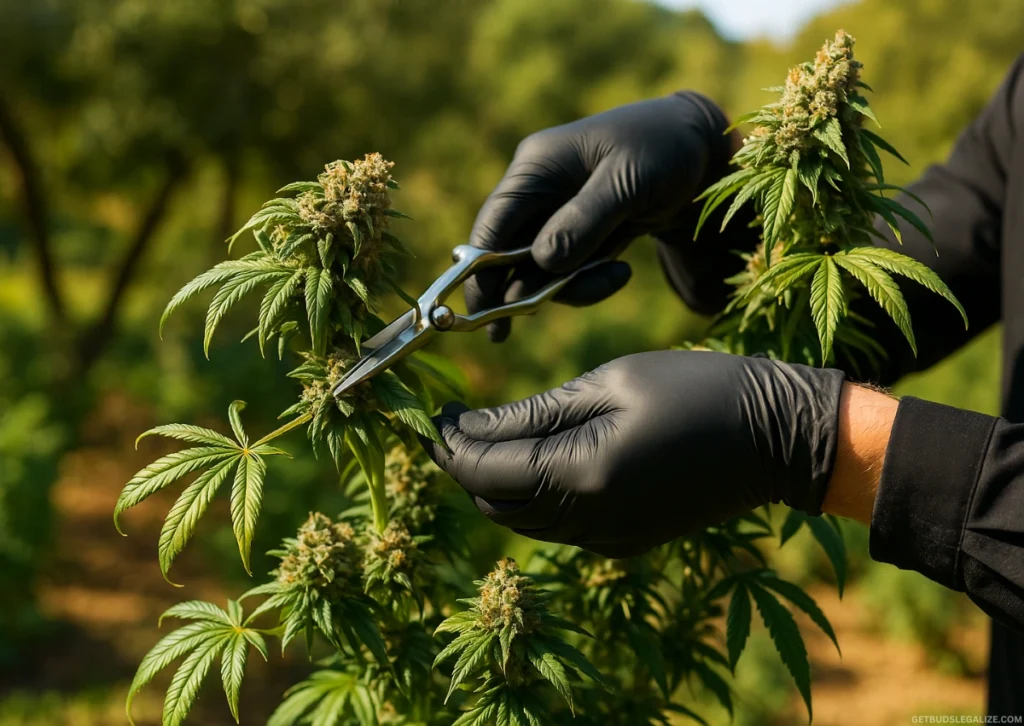
Step 8: Harvesting and Post-Harvest Tips
Harvesting your autoflowers at the right time and following the proper post-harvest procedures is key to preserving the potency, flavor, and aroma of your cannabis.
🌾 When to Harvest Autoflowers
The best way to determine when your plants are ready to harvest is by looking at the trichomes—the tiny resin glands on the buds.
- Clear Trichomes: Not yet ready — THC is still developing.
- Milky/Cloudy Trichomes: Peak THC levels, most potent effects.
- Amber Trichomes: Higher CBN, more relaxing and body-heavy effect.
A balanced harvest should have mostly milky trichomes with a few amber ones for a smooth, full-spectrum experience.
💨 Drying Your Harvested Buds
Once you’ve chopped your plants, the next critical step is drying them slowly and evenly to preserve cannabinoids and terpenes.
- Hang to dry: Hang branches upside down in a dark, ventilated room.
- Ideal environment: 18–21°C (64–70°F) and 50–60% humidity.
- Drying time: Typically 7–14 days depending on size and conditions.
- When it’s ready: Buds feel dry, stems bend and just begin to snap.
🫙 Curing for Flavor and Smoothness
Curing is where good weed becomes great. It improves smoothness, flavor, aroma, and overall potency—and helps avoid harsh smoke.
- Jar your buds: Once dry, loosely fill airtight mason jars (not packed).
- Burp daily (Week 1–2): Open jars 10–15 minutes/day to release moisture.
- Reduce burping (Week 3+): Open jars every 2–3 days.
- Curing time: Minimum 3–6 weeks. Best results after 6–8 weeks.
✅ Pro Tip: Use a small hygrometer in each jar to monitor RH. Aim for 58–62% for perfect curing.
Related Article:
Final Thoughts: Your Outdoor Autoflower Journey Starts Here
Whether you’re planting in a sunlit garden, balcony pots, or a tucked-away corner of your yard, growing autoflowering cannabis outdoors is one of the most rewarding paths in cultivation.
With their rapid growth, resilience, and minimal upkeep, autoflowers are ideal for beginners—and still powerful tools for seasoned growers aiming to maximize outdoor yields with less effort.
Stick to the steps in this guide, observe your plants closely, and let nature do the heavy lifting. You’ll be surprised at how much premium bud you can produce under open skies.
💬 Stay Connected & Keep Growing:
Enjoyed this guide? Don’t miss out on more grower insights:
- 🌱 Follow us on social media for daily cultivation tips and outdoor grow inspiration.
- 📬 Subscribe to our newsletter for exclusive how-tos, strain updates, and grower-only deals—delivered straight to your inbox.
Let’s grow smarter, harvest bigger, and enjoy the journey together. 💚
📖 Frequently Asked Questions (FAQs) about How to Grow Autoflowers Outdoors
Autoflowering strains are fast-growing strains that flower automatically with age, rather than relying on changes in light cycles. This unique trait, inherited from cannabis ruderalis, makes them ideal for outdoor grows where lighting can’t be controlled. Their quick life cycle, small size, and resilience to environmental stressors make them perfect for growers of all experience levels.
Yes, planting autoflower seeds directly outdoors is often the best approach. It eliminates transplant shock and allows the taproot to grow deep and strong. Just ensure your site has loose, well-draining soil and gets full sun, especially during the seedling stage.
The optimal pot size for autoflowering cannabis outdoors is between 7 and 15 liters (2–4 gallons). This supports healthy root development without overwhelming the plant. Fabric pots are ideal because they offer excellent aeration and drainage and help prevent overwatering, a common issue in outdoor cannabis cultivation.
The best time to start growing autoflower strains outdoors is after the last frost date in your region. In temperate zones, this is typically from late April to early July. In cold climates, plant during the warmest months. In tropical areas, you can grow year-round and enjoy multiple harvests.
Yes, but timing is key. Autoflower marijuana seeds can do well in cold climates if planted during periods of warm, stable weather. Choose fast-finishing, mold-resistant strains, and avoid planting too early or too late in the season when temperature fluctuations are more severe.
Absolutely. Autoflowering strains are ideal for beginners due to their low-maintenance nature. You don’t need to worry about light schedules, and their compact growth and quick turnaround make them a hassle-free entry point into cannabis growing.
If your plants receive 6–10 hours of direct sun daily, you won’t need them. However, lights can be useful for starting seedlings early in the season or for extending light exposure during cloudy periods or shaded setups like balconies or patios.
A high-quality, well-draining mix is key for growing autos successfully. Use peat moss or coco coir for moisture retention, perlite for drainage, and organic compost for nutrients. Avoid heavy soils that can suffocate roots or cause overwatering issues.
The best outdoor auto strains combine resilience, potency, and high yields. Look for tried-and-tested genetics like Gorilla Glue Auto, Amnesia Haze Auto, or Northern Lights Auto. These cannabis strains are bred to thrive outdoors and deliver strong performance in various climates.
In warm climates, you can grow 2 to 3 autoflower crops per season. Thanks to their fast life cycle, autoflowers let you stagger plantings and enjoy continuous outdoor harvests throughout spring, summer, and even early fall, making them ideal for maximizing yields in a single growing season.
Autoflowers grow best in a sunny, well-ventilated spot with good drainage. Choose a location that gets at least 6 hours of direct sunlight daily and offers protection from strong winds and heavy rain. Healthy airflow and stable conditions help maximize growth and reduce the risk of pests or mold.
Use low-stress training (LST) to gently bend and tie down branches, exposing more bud sites to sunlight. This boosts yields by improving light penetration without harming the plant. Avoid topping or heavy pruning, as autoflowers have limited recovery time. For outdoor grows, LST is the safest and most effective way to increase yield without stunting growth.
Stick with organic nutrients for a healthier, eco-friendly grow. Use a nitrogen-rich mix during the vegetative stage, then switch to higher phosphorus and potassium during flowering to fuel bud growth.
Autoflowers need less feeding, so start at half strength and adjust based on how your plants respond.
Use a mix of natural defenses: companion planting (like basil or marigold), neem oil sprays, and physical barriers (like mesh). Check plants often for signs of trouble. The shorter life cycle of autoflowers reduces exposure, but prevention is still key in cannabis cultivation.
Absolutely. Autoflowers are ideal for balcony or terrace grows thanks to their compact size and fast life cycle. Use lightweight, discreet containers, ensure plenty of sunlight, and add companion plants or privacy screens to shield them from wind and prying eyes.
Most autoflowers finish their entire lifecycle—from seed to harvest—in just 8 to 10 weeks. This includes germination, vegetative growth, and flowering, making them one of the fastest and most efficient choices for outdoor cannabis cultivation.
Not at all. A greenhouse can help extend the season or add protection, but most autoflowers will grow just fine in open air. Just make sure conditions are right for your outdoor autoflower grow: sunlight, drainage, and shelter.
During the seedling stage, use shade cloths, humidity domes, or start in smaller pots that can be moved around. Protect against strong sun, rain, and pests until your seedlings are strong enough to handle full outdoor exposure.
Yes! Autoflowers are designed to make it easy to grow cannabis outdoors, even for total beginners. Just follow the basics: good soil, full sun, light nutrients, and a bit of patience. You’ll be harvesting in no time.
Yes, in tropical or Mediterranean climates with no frost, you can grow autoflowers all year.
Ideally, 6–10 hours of direct sunlight daily for maximum growth and yields.
A well-draining, light mix with peat/coco, perlite, and organic compost—perfect for healthy root development.
🌿 ILGM Fertilizer
Feed Your Plants Right

The ultimate nutrient set for cannabis — from roots to buds!
✅ Complete grow cycle support
✅ Feeds 5+ plants
✅ Works in soil, coco, or hydro
✅ Boosts yield & reduces issues
🛡️ ILGM Plant Protector
Ultimate Cannabis Protection

Safeguard your plants from pests & disease — naturally and effectively!
✅ Covers up to 20 plants
✅ Soil, coco, or hydro compatible
✅ Fast-acting pest & disease control
✅ Keeps grows healthy & stress-free


 Table of Contents

