Learn How To Grow Autoflowers Week by Week: The Complete Guide to Growing Cannabis Fast
Autoflower cannabis strains offer a fast, beginner-friendly way to grow high-quality weed without the complications of light schedules or long veg times. These hardy, fast-growing plants deliver impressive results in a short window—some racing from seed to harvest in just 8 weeks.
Whether you’re growing your very first plant or looking to streamline your process, learning how to grow autoflowers week by week can help you avoid common pitfalls, increase yields, and enjoy a more predictable grow from start to finish.
In this complete guide, we’ll walk through every stage of the autoflower life cycle—from seed germination to final harvest—offering weekly insights and pro tips to help you grow with confidence.
Seed to Harvest: How Long Autoflowers Really Take
Most autoflower strains grow from seed to harvest in about 8 to 10 weeks, making them one of the quickest cannabis types to cultivate. Some ultra-fast varieties like Bubble Gum XXL Auto or Purple Punch Auto are ready to harvest in as little as 8 weeks, while others—such as Melonade Runtz Auto or Granddaddy Purple Auto—may take closer to 11–12 weeks.
These strains are popular for their short grow cycle, small stature, and ability to thrive even in less-than-ideal environments. Their genetic makeup includes Cannabis ruderalis, a hardy subspecies known for its ability to survive in tough conditions. This gives autoflowers a natural resistance to pests, pathogens, and colder weather, making them ideal for both indoor and outdoor grows.
Related Article:
Understanding Autoflower Light Cycles
Autoflowers plants on their own schedule, independent of any changes in light cycle. This means you can keep your autoflowers under an 18/6 light schedule (18 hours on, 6 off) from seedling to harvest. Some growers even opt for a 24/0 cycle, hoping to boost growth by giving their plants continuous light, though this can raise electricity costs.
This trait also makes autoflowers perfect for multiple harvests per season in outdoor setups. If you stagger your planting early in the season, you could be harvesting fresh buds every couple of weeks throughout spring and summer.
The Importance of Soil pH in Autoflower Cultivation
Soil pH might seem like a minor detail, but it can make or break your grow. Cannabis prefers a slightly acidic environment, with an ideal pH range of 6.0–6.5 in soil. When the pH drifts outside of this range, your plants may struggle to absorb essential nutrients—a condition known as nutrient lockout.
To avoid this, regularly monitor the pH of both your water and runoff using a reliable digital pH meter. Keeping the pH in check ensures smooth nutrient uptake and vibrant plant health throughout the grow.
Related Article:
The Week-By-Week Autoflower Grow Guide
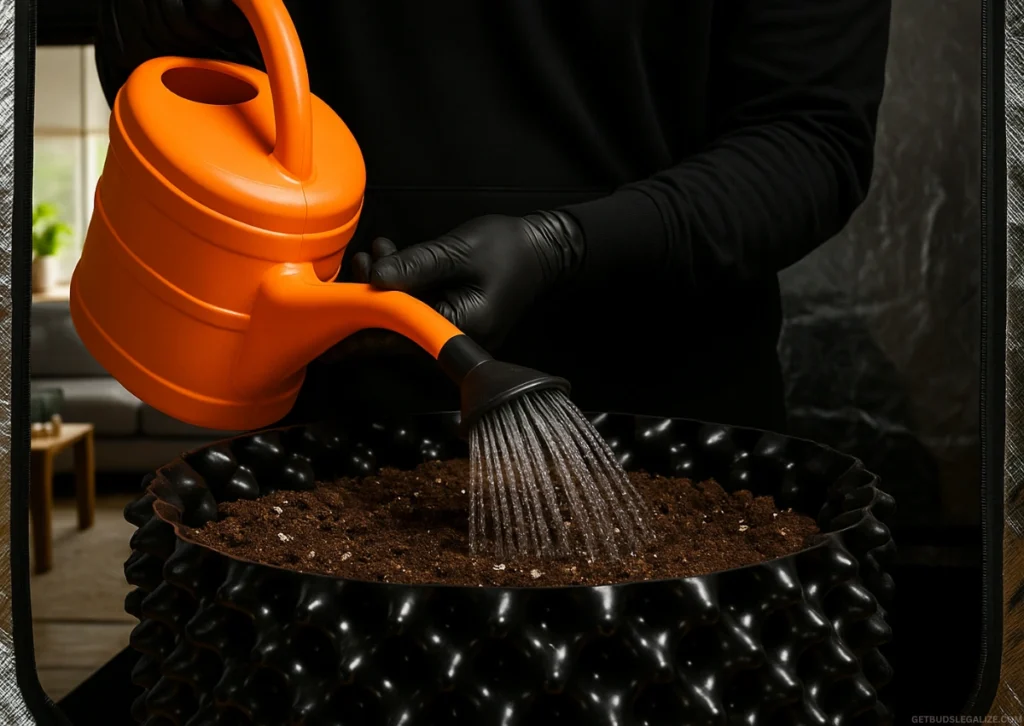
Below, we’ll take you through a week-by-week breakdown of the entire autoflower growing process. These weekly insights are tailored to indoor growers using soil, though outdoor growers can adapt the same principles to fit their setups.
Week 1: Germination & Early Seedling Stage ~ Laying the Foundation
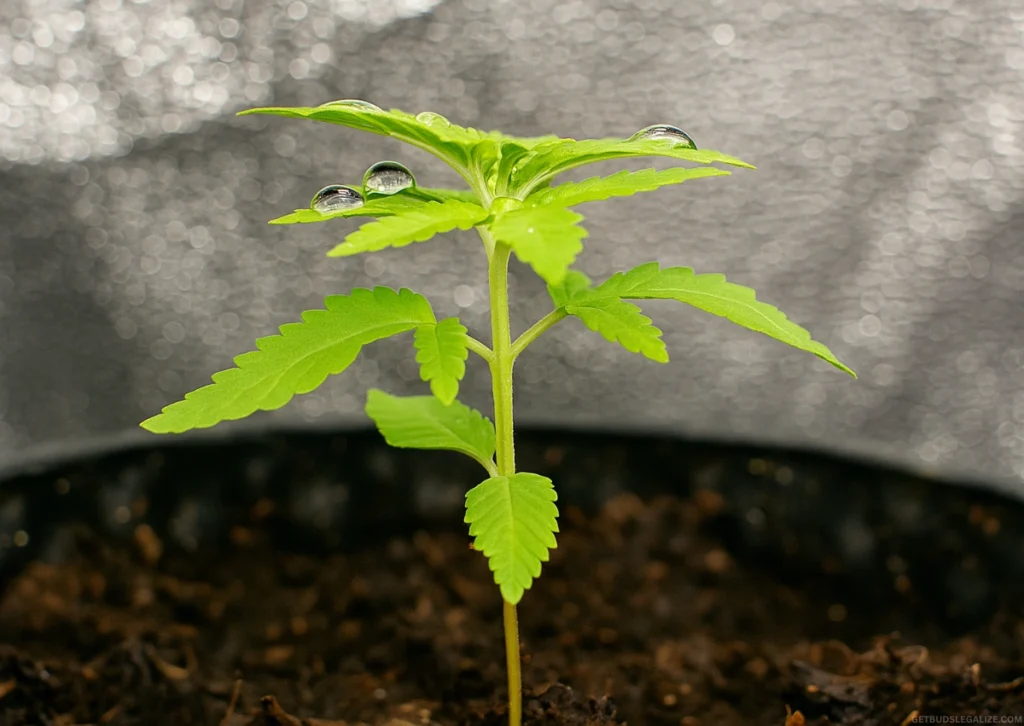
Your autoflowering cannabis journey begins here, and this first week is all about setting the stage for healthy, vigorous growth. Germination typically takes between 1 to 3 days, depending on your method—whether it’s the classic paper towel technique, starter plugs, or direct sowing into soil.
Once the seed cracks open and the taproot appears, it should be planted (if not already) in its final container. Autoflowers grow quickly and do not tolerate transplanting well, so go with a pot size of 11–15 liters from the start.
When the seedling emerges, it enters its early growth phase. This is a delicate stage—your plant is highly sensitive to overwatering, temperature changes, and poor-quality soil.
✅ Targets This Week:
| Parameter | Details |
| Temp | 22–25°C |
| Humidity | 70–90% |
| Light | 250W LED on 18/6 schedule |
| Water | Mist lightly; avoid overwatering |
| Additives | Mycorrhizal fungi + Easy Boost pellets |
You should see cotyledons (first leaves) appear, followed by the first set of serrated true leaves. Don’t be alarmed by slow growth—it’s busy developing below the soil.
Related Article:
Week 2: Late Seedling Stage ~ Rooting & Leaf Development
Week 2 brings faster leaf production and stronger stem development. Your seedling will look sturdier, with multiple nodes forming and early signs of branching. The root zone is expanding, and the plant is starting to demand more water and nutrients.
Start introducing light nutrients, especially if you’re using an organic soil that doesn’t contain much nitrogen. Something like Bergman’s Seedling Fertilizer or diluted seedling fertilizer (¼–½ strength) is ideal.
✅ Targets This Week:
| Parameter | Details |
| Temp | 22–24°C |
| Humidity | 60–70% |
| Light Distance | 70–100 cm |
| Water | 250–500 ml per day |
| Feed | Seedling fertilizer (¼–½ strength), 2x/week |
Monitor leaf color and posture. A healthy plant will be green, upright, and developing evenly spaced leaves. Signs of nutrient imbalance should be corrected early before the plant enters faster vegetative growth.
Related Article:
Week 3: Early Veg Stage ~ Let the Growth Begin
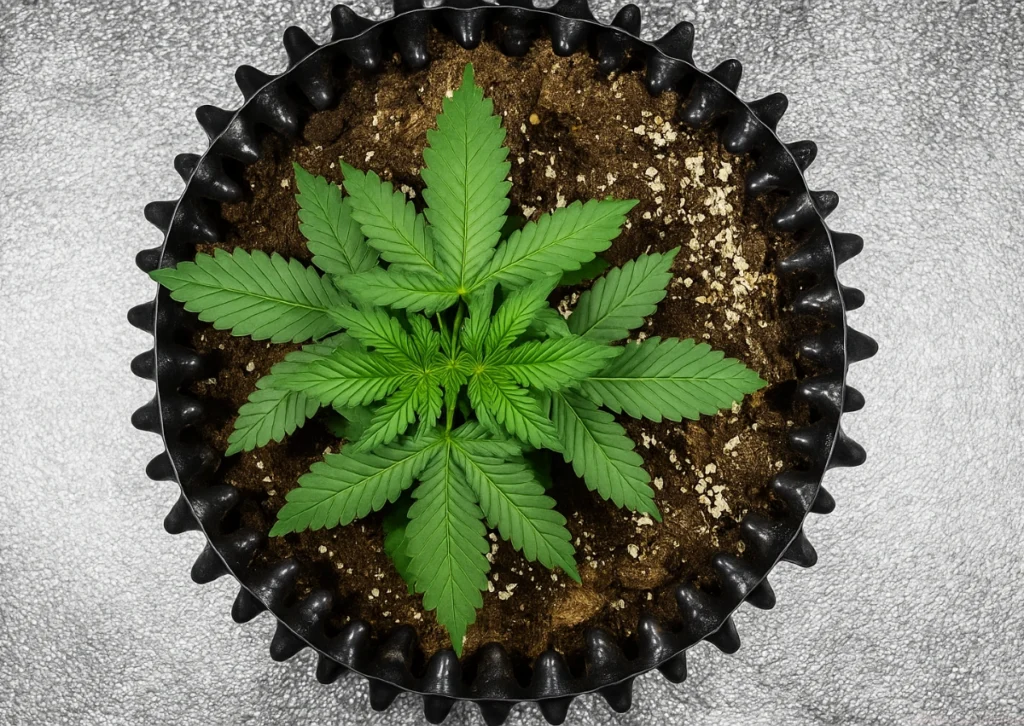
Now the magic starts. Your plant shifts into a rapid growth phase, reaching heights of 10–20 cm and developing larger fan leaves. You’ll also begin to see early side branches forming from lower nodes.
This is the perfect time to begin Low-Stress Training (LST). Gently bending the main stem outward and securing it encourages bushier growth and exposes more bud sites to light. Avoid topping or cutting—autoflowers grow too fast to recover.
✅ Targets This Week:
| Parameter | Details |
| Temp | ~20°C |
| Humidity | 50–60% |
| Light Height | 60–80 cm |
| Water | 500–700 ml/day |
| Feed | Bergman’s Growtime Fertilizer, 2x/week |
| Training | Begin LST; adjust every few days |
Rotate your pot every few days to even out stretch. Your plant should be sturdy, symmetrical, and branching nicely.
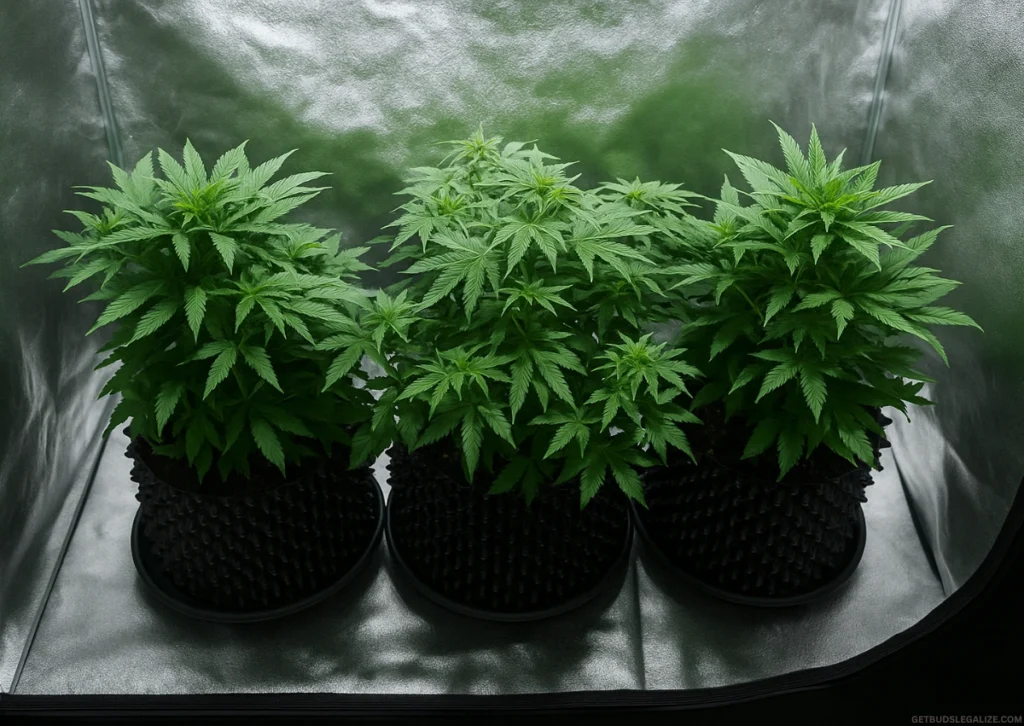
Week 4: Late Veg Stage ~ Structuring & Stacking
By week 4, your plant is likely 20–30 cm tall, and you may notice the first pre-flowers—tiny white hairs (pistils) at the nodes. This means flowering is around the corner.
This week is your last chance to complete any training. Finalize LST and lightly prune any fan leaves blocking light to key bud sites. Avoid any high-stress techniques, as the plant is now focusing its energy on flowering.
✅ Targets This Week:
| Parameter | Details |
| Temp | 20–22°C |
| Humidity | 45–50% |
| Light | 60–70 cm from the canopy |
| Water | 0.7–1 L/day |
| Feed | Continue Bergman’s Growtime Fertilizer, 2x/week |
| Training | Light pruning only |
An even canopy with lots of light exposure will pay off in the next phase—flowering.
Related Article:
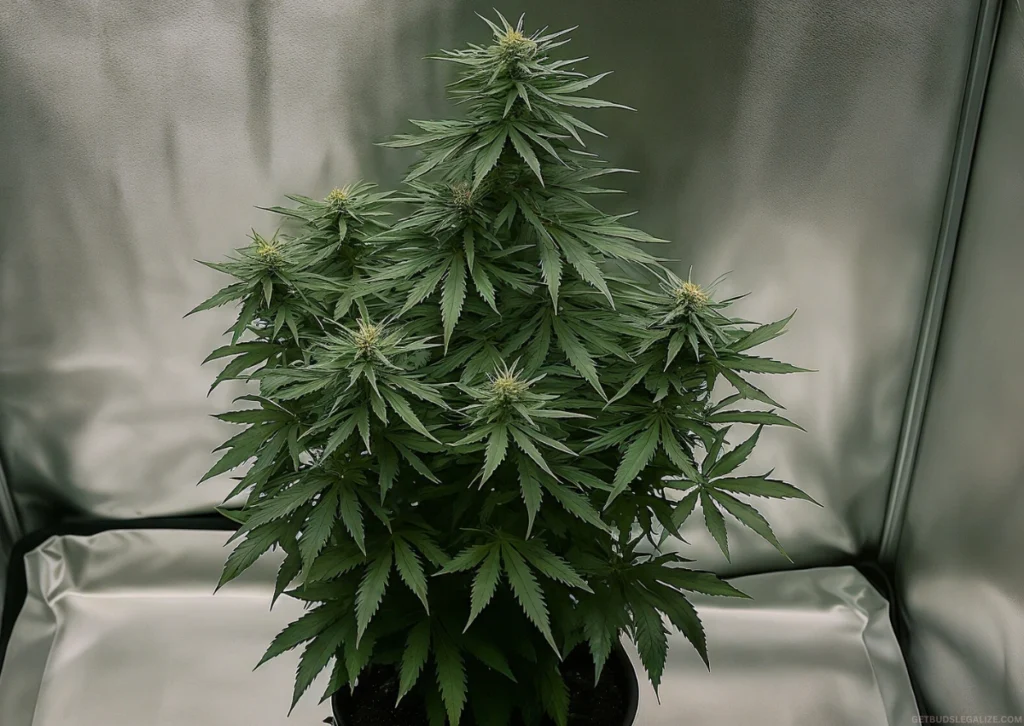
Week 5: Flowering Phase Begins ~ Bud Initiation Phase
Welcome to the flowering stage! Your plant begins forming white pistils in clusters, and you’ll see a noticeable stretch in height as energy shifts toward bud development.
Switch to a bloom nutrient formula higher in phosphorus and potassium, like Bergman’s Flowertime Fertilizer. If your LED allows, shift to a red-heavy light spectrum to stimulate flowering.
✅ Flowering Week Targets:
| Parameter | Details |
| Temp | 22–24°C |
| Humidity | 45% |
| Light | 60–65 cm from the canopy |
| Water | 1 L/day |
| Feed | Bergman’s Flowertime Fertilizer, 2x/week |
| Spectrum | Red-heavy if possible |
You’ll start to smell a sweet, grassy aroma—a preview of what’s to come.
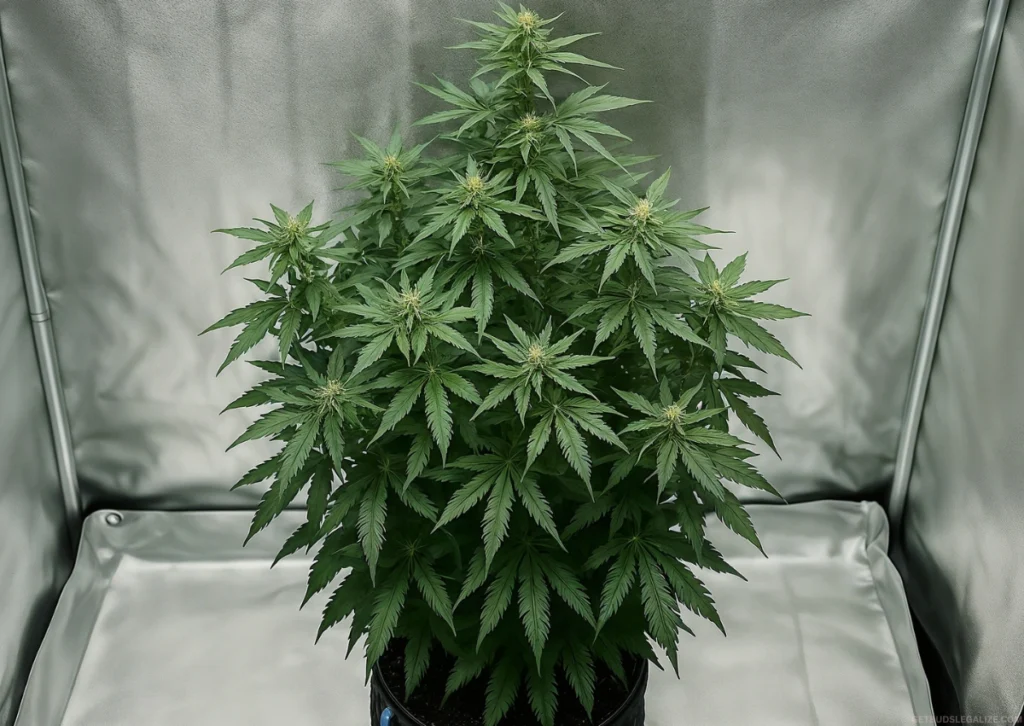
Week 6: Mid-Flowering ~ Resin & Aroma Explosion
Now your grow room really starts to smell amazing. Buds are swelling, and a frosty layer of trichomes is forming across flowers and sugar leaves. Aromas intensify as your plant develops its terpene profile.
Focus on maintaining a dry, well-ventilated space. Flowering brings higher humidity risks—especially in thick canopies—so keep airflow strong.
If the smell becomes too strong, consider installing a carbon filter to reduce odors and help with air exchange.
✅ Flowering Week Targets:
| Parameter | Details |
| Temp | 24°C |
| Humidity | 40% |
| Light | 45–55 cm |
| Water | 1.5 L/day |
| Feed | Bergman’s Flowertime Fertilizer, 3x/week |
| Odor | Install a carbon filter if needed |
Inspect for hermaphrodite signs. If you see pollen sacs, remove them immediately to prevent seeded buds.
Related Article:
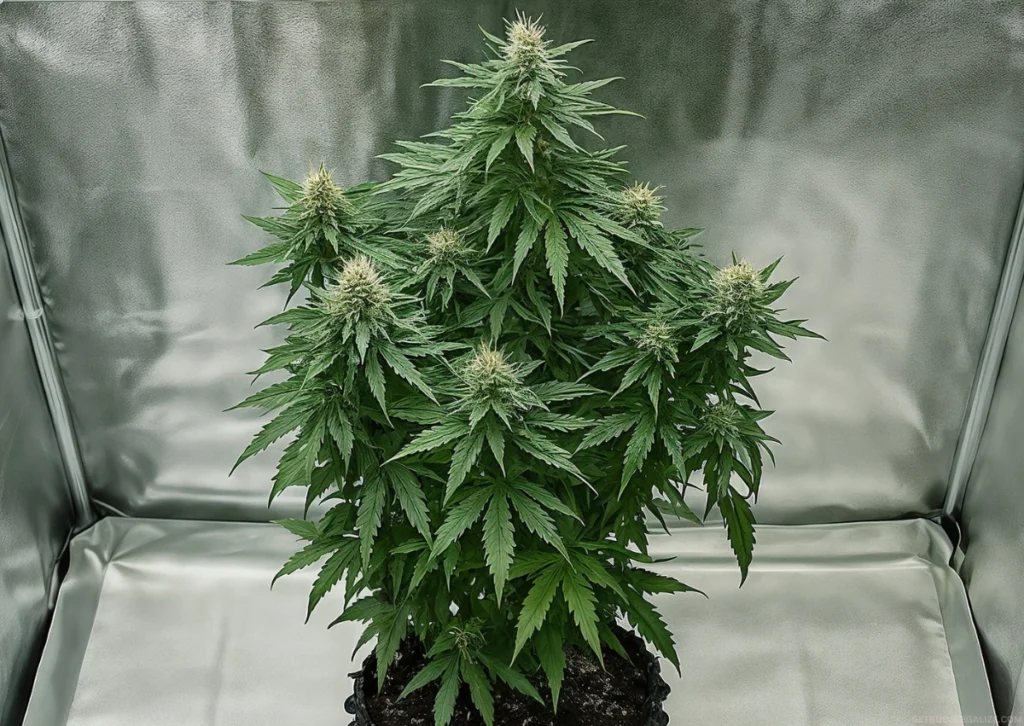
Week 7: Flower Fattening & Maintenance
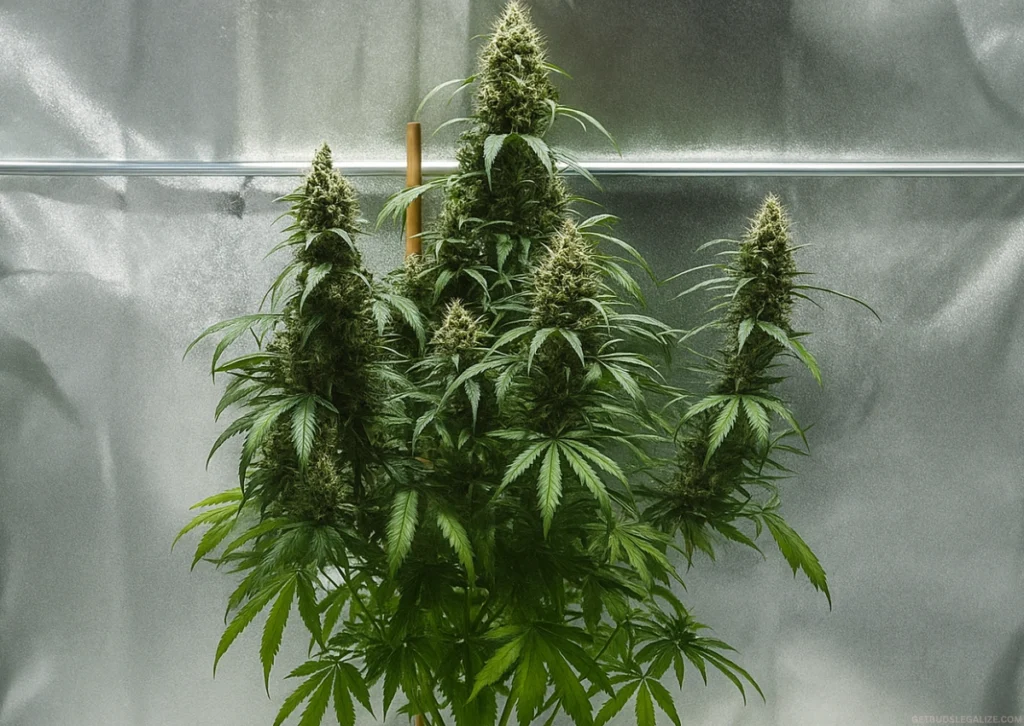
At this stage, the structure of your plant is fully developed, and your primary task is to keep everything stable and healthy. Monitor closely for nutrient imbalances, pests, or signs of mold. Most late-stage issues are tied to pH fluctuations, so make sure to test your runoff frequently to keep it within the optimal range.
By now, your buds should be dense, sticky to the touch, and glistening with trichomes—a sign that resin production is peaking. If anything seems off, act quickly. This is your final window to correct problems before the flushing phase begins.
✅ Flowering Week Targets:
| Parameter | Details |
| Temp | 24°C |
| Humidity | 40% |
| Light Height | ~45 cm |
| Water | 1.5 L/day |
| Feed | Bergman’s Flowertime Fertilizer, 3x/week |
| pH Check | Runoff should be 6.2–6.5 |
Week 8: Flushing & Final Defoliation
You’re nearly there. Week 8 marks the start of the flushing phase, a critical step to cleanse your plant of any excess nutrients and improve the final flavor, burn quality, and overall smoothness of your buds.
Discontinue all nutrient feeding and begin watering with plain, pH-balanced water (pH 6.2–6.5). Continue this process until the runoff water appears clearer and your plant begins to naturally fade. This typically takes 10–14 days, depending on your medium and feeding history.
You can also lightly remove yellowing or heavily shaded fan leaves to improve airflow and light penetration, but avoid aggressive defoliation this late in the cycle.
✅ Flush Week Targets:
| Parameter | Details |
| Temp | 25°C |
| Humidity | 40% |
| Light Height | ~45 cm |
| Water | 1.5 L/day (no nutrients) |
Related Article:
Week 9: Ripening Stage – The Calm Before the Cut
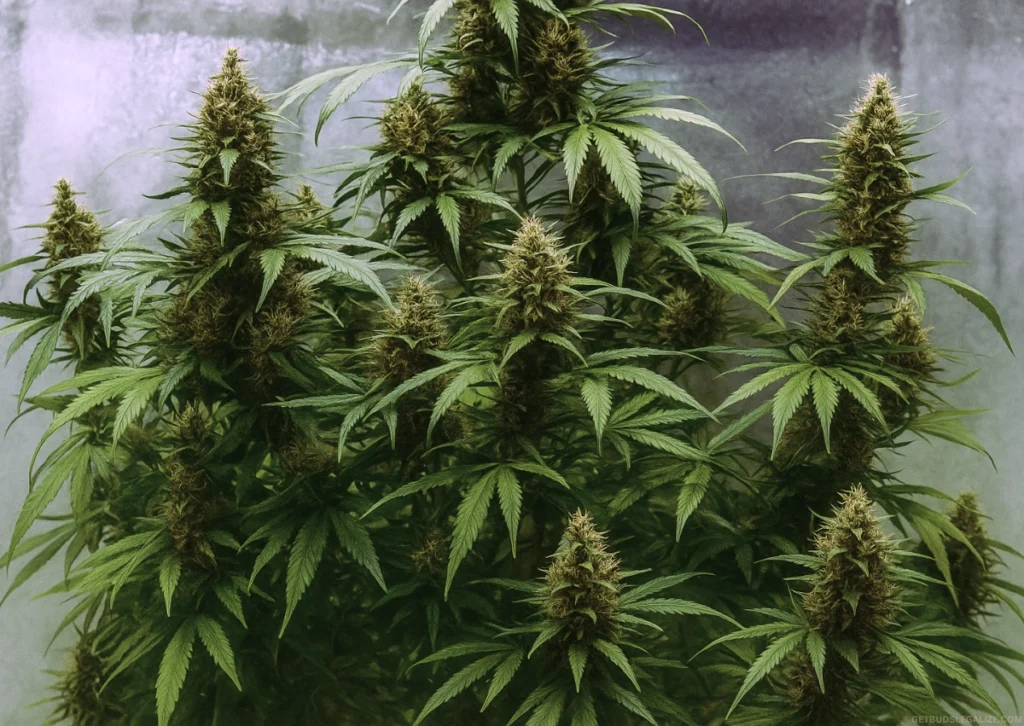
You’re now in the final ripening stage. By this moment, your buds should be swollen, resinous, and covered in shimmering trichomes. The pistils (those hair-like strands) will begin to curl inward and darken, a clear sign that harvest is approaching.
To know exactly when to harvest, use a jeweler’s loupe or digital microscope to check the trichomes on your buds. Aim for a mix of mostly milky heads with a few turning amber—this gives you peak potency and a well-balanced high.
It’s also normal to see fan leaves yellowing or dropping off. Don’t panic—this is just your plant using up its remaining nutrients as it finishes its lifecycle.
✅ Ripening Targets:
| Parameter | Details |
| Temp | 25°C |
| Humidity | 40% |
| Water | 1.5 L/day |
| Light | Hold distance |
Related Article:
Week 10: Harvest Time – Enjoy the Fruits of Your Labor
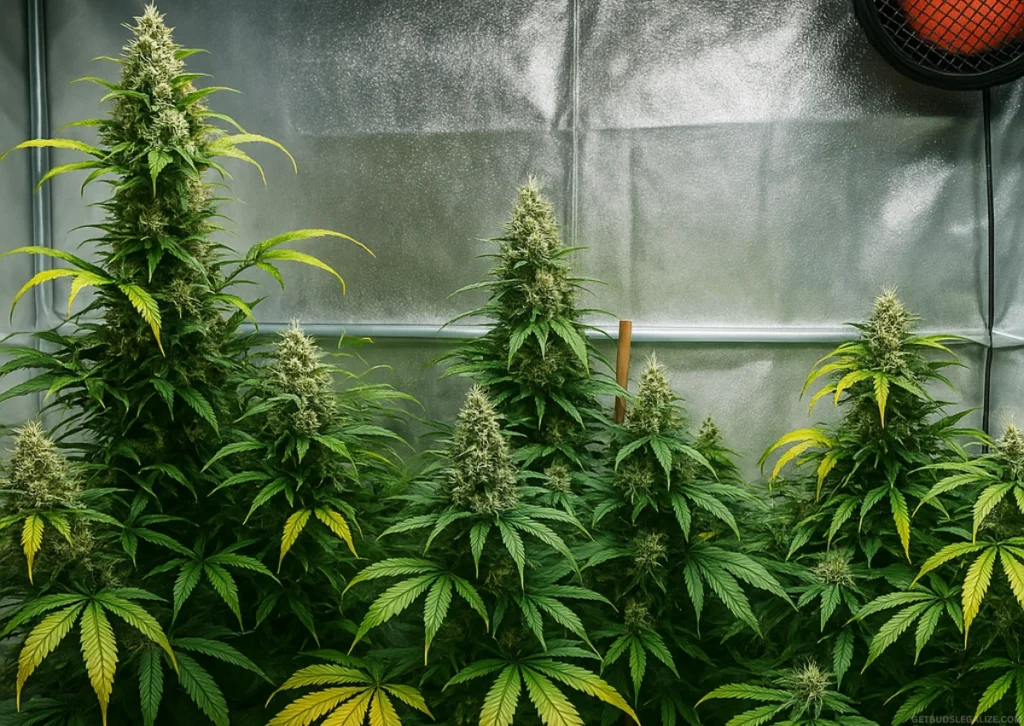
You’ve made it to the final stretch—and what a journey it’s been. After weeks of dialing in your lighting, nutrients, and environment, your autoflower is now heavy with glistening colas and radiating a pungent, unmistakable scent. It’s harvest time.
To ensure peak quality, look for reliable signs of ripeness:
- Around 80–90% of the pistils should have darkened and curled inward.
- Trichomes should appear mostly cloudy with a few turning amber—this usually signals optimal cannabinoid and terpene maturity.
This window delivers the best balance of potency, aroma, and smoothness in your final product.
Staggered Harvest Tip: Let Every Bud Reach Its Prime
Not all buds mature at the same pace—top colas tend to ripen faster thanks to better light penetration and airflow. These upper flowers often finish days ahead of the lower sites.
If you notice the lower buds still have clear trichomes or lack density, hold off on harvesting them.
Here’s how to do it right:
- Trim and dry the top colas first, once they hit full maturity.
- Leave the lower branches on the plant, keeping your environment stable.
- Give them another 3–7 days to ripen properly.
This staggered approach helps maximize your yield, ensures even resin development, and brings out the full potential of every bud on the plant.
Harvest smart, not all at once—and your stash will thank you.
Related Article:
Common Autoflower Mistakes to Avoid
Autoflowers are fast, resilient, and great for beginners—but their speed comes at a cost. With such a short vegetative phase, even small mistakes early on can limit your plant’s potential and reduce your final yield.
🚫 Mistake #1: Overwatering Young Plants
It’s tempting to give seedlings plenty of water to “help them grow,” but too much moisture does more harm than good. Overwatering suffocates roots by depriving them of oxygen and creates a breeding ground for root diseases like damping-off fungus. Instead, let the soil dry out slightly between waterings and water gently to keep your seedlings happy and healthy.
🚫 Mistake #2: Starting in Small Containers
Many new growers start autoflowers in tiny pots or solo cups with plans to transplant later. However, autoflowers have very short life cycles and don’t respond well to transplant shock. Disturbing roots can slow growth or cause stress that the plant never recovers from. Use a final container size of 11–15 liters from the start to give roots plenty of room to stretch.
🚫 Mistake #3: Waiting Too Long to Start LST (Low-Stress Training)
LST is a key technique for increasing bud sites and improving light exposure. The earlier you start gently bending and securing your plant, the more flexible and bushy it will grow. Waiting too long means stems harden and become brittle, making training risky and stressful for the plant.
🚫 Mistake #4: Overfeeding and Nutrient Burn
Autoflowers are naturally light feeders compared to photoperiod strains. Flooding your plants with fertilizers can lead to nutrient burn—brown, crispy leaf tips, twisted growth, and even nutrient lockout, where the plant can’t absorb what it needs. Start with mild feeding schedules and adjust based on your plant’s response.
🚫 Mistake #5: Harvesting Before It’s Ready
It’s common to think the plant is ready once pistils change color, but this alone doesn’t guarantee maturity. Harvesting too soon results in smaller, less potent buds with a harsh taste and weaker effects. Use a jeweler’s loupe to check trichomes—the tiny resin glands—for mostly cloudy heads with some amber for peak potency and flavor.
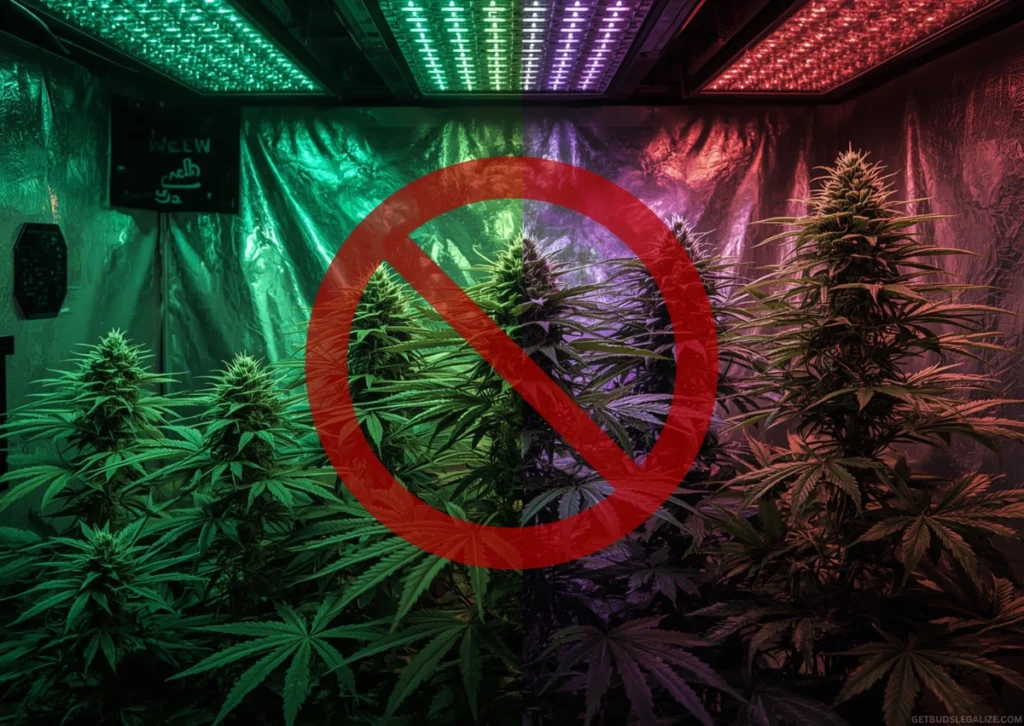
🚫 Mistake #6: Incorrect Light Distance
Proper light placement is crucial. Lights too close can cause leaf bleaching, burns, and heat stress. Lights too far away cause leggy, stretched plants and sparse bud development. Keep your lights at the recommended height (usually 45–70 cm for LEDs) and adjust based on your specific setup and plant response.
Final Thoughts: Master the Art of Growing Autoflowers Week by Week
Autoflowers are one of the easiest and fastest ways to grow cannabis. By following this week-by-week guide, you’ll avoid rookie mistakes, optimize every stage, and end up with frosty, potent buds in just 8–10 weeks.
Every week matters—but the more you observe, note, and learn, the more confident and skilled you become as a grower. Treat this guide as both a roadmap and a journal template.
Whether you’re growing for fun, medicine, or yield, this method gives you the structure to grow confidently and successfully.
🌿 Ready to start? Choose your strain, prep your setup, and get growing!
Frequently Asked Questions (FAQs) – Learn How to Grow Autoflowers Week by Week
The veg in autoflower plants typically lasts about 3–4 weeks. Unlike photoperiod strains, autos begin flowering automatically soon after, even under constant light.
Maximize growth during this window with proper lighting, nutrients, and low-stress training.
The entire life cycle of an autoflower typically takes 8 to 12 weeks, depending on the strain.
Yes, growing autoflowers is easier for beginners because they flower automatically without needing light schedule changes.
They’re fast, compact, and low-maintenance—perfect for small indoor setups or short outdoor seasons.
To germinate autoflower seeds, use the paper towel method, root cubes, or plant directly into the final pot. Keep temperatures between 22–25°C and maintain high humidity. Handle gently—autoflowers don’t like transplanting.
You can, but it’s risky. Autoflower plants grow fast and have limited recovery time. For best results, plant directly into the final container to prevent transplant shock and stunted growth.
During the late veg stage, your autoflower shifts its energy into rapid upward growth and branch development.
You’ll see more nodes forming and may begin to spot pre-flowers appearing between the leaf stems and main stalk.
This is the last opportunity to apply low-stress training (LST) or make final canopy adjustments before the plant transitions into full bloom.
No, only specifically bred autoflowering seeds contain genetics from Cannabis ruderalis. These strains flower based on age, not light. Always verify that your cannabis seeds are labeled “autoflower” when ordering.
The most common light schedules for autoflowers are 18/6 or 20/4 (on/off). Autos don’t need darkness to flower, so continuous light is possible—but 18/6 balances energy use with strong yields.
Yes. Growing autoflowering cannabis indoors offers full environmental control, fast harvests, and discreet growing options. Use LED grow lights, good ventilation, and a stable light schedule for best results.
Modern autoflower plants can be just as potent. Strains like HulkBerry Auto and Green Gelato Auto often exceed 20% THC, matching or surpassing many photoperiod cultivars in strength and terpene profiles.
You can grow marijuana seeds year-round in warm climates. In temperate zones, aim for spring through early fall. Autoflowers thrive outdoors and allow multiple harvests per season due to their speed.
Most autoflowers grown indoors reach a height of 40 to 100 cm (about 1.3 to 3 feet). Final size depends on genetics, container volume, and lighting conditions.
Low-stress training (LST) and other canopy management techniques can help limit vertical stretch while encouraging more even light distribution and bigger yields.
A healthy seedling needs gentle lighting (18–24 inches from LED), warm temperatures (22–25°C), and high humidity (70–90%). Avoid overwatering—mist lightly and wait for the soil to dry slightly before rewatering.
The best growing medium for autoflowers is light, well-aerated soil with good drainage. Organic mixes with added perlite or coco coir are ideal. Avoid rich, “hot” soils that can burn young seedlings.
Begin low-stress training (LST) around week 2 or 3, once your plant has developed 4 to 5 nodes and is growing steadily. This early window allows you to shape the plant without causing too much stress.
Avoid aggressive methods like topping or super cropping unless you’re experienced—autoflowers grow quickly and may not have enough time to recover from high-stress techniques.
Start feeding your autoflower plants with light nutrient doses around week 2, once seedlings have developed a few sets of true leaves.
Gradually increase feeding strength as the plant progresses through vegetative growth, using nutrients with a balanced NPK ratio.
Around week 5, when flowering begins, switch to a bloom formula higher in phosphorus and potassium to support bud development.
In the final 10–14 days before harvest, flush with plain water to remove residual nutrients and improve the final taste and aroma.
Top-yielding autoflower strains include Amnesia Haze Auto, Moby Dick Auto, and Grapefruit Auto. These varieties produce dense buds and respond well to training and consistent care.
Autoflower seeds bloom automatically and finish faster. Regular cannabis seeds rely on changes in light cycle to flower and may take 4–6 weeks longer. Autos are perfect for quick, stealthy, or beginner-friendly grows.
A 1×1 meter grow tent can typically accommodate 3 to 5 autoflowering plants, depending on the pot size, strain, and training technique you use.
Smaller pots and compact strains allow for more plants, while larger containers or bushier growth styles may limit you to fewer.
For best results, use breathable fabric pots and ensure there’s enough airflow and space between plants to reduce the risk of mold and promote healthy growth.
To start growing autoflowers, pick a beginner strain like Sour Diesel Auto or Blue Dream Auto.
Use a high-quality soil mix, a reliable LED grow light, and follow a week-by-week grow guide to stay on track.
Begin with a small grow—just one or two plants—and focus on keeping your environment stable, watering properly, and monitoring pH levels.
Simplicity and consistency are key to a successful first harvest.
ILGM Fertilizer:
Feed Your Plants Right

The Ultimate Cannabis Fertilizer – designed to fuel every stage from seedling to harvest.
✅ Feeds 5+ plants
✅ Big savings with bundle
✅ Works in soil, coco, or hydro
✅ Supports bigger, healthier yields
ILGM Plant Protector:
Ultimate Cannabis Protection

Shield your plants from pests and disease—naturally and effectively.
Protect From Seedling to Harvest
✅ Protects up to 20 plants
✅ Works in soil, coco, or hydro
✅ Fights pests & diseases fast
✅ Keep your grow healthy & stress-free


